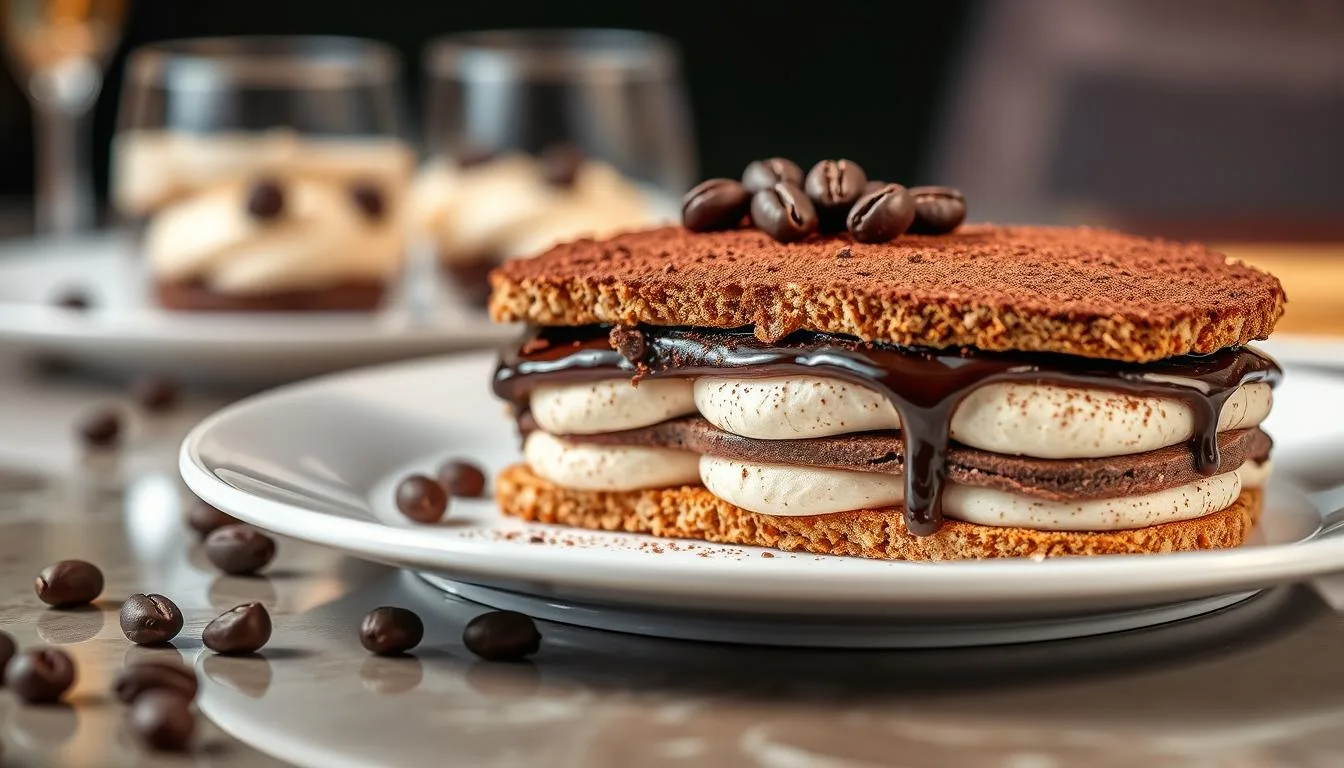
Imagine a dessert that turns a simple moment into something special. The chocolate espresso dacquoise is more than a recipe; it’s a masterpiece that will take your desserts to new heights. It combines meringue, coffee buttercream, and chocolate ganache in a perfect mix of textures and tastes.
This dessert will catch your eye with its detailed layers and fancy design. It’s a gluten-free treat that feeds 10 to 12 people. It takes about 8 hours to make, including time to chill.
The dessert’s core is three main parts: a meringue base with nuts, a coffee buttercream, and a chocolate ganache. Each layer is built with care to mix flavors in a way that feels like a trip to Paris.
Get ready for a baking adventure that’s not just about dessert. It’s about experiencing the art of baking. Whether you’re an expert baker or just starting out, the chocolate espresso dacquoise will amaze you with its complexity and beauty.
Understanding Chocolate Espresso Dacquoise
Explore the world of layered meringue cake, a delightful treat from French patisserie. This dessert is a masterpiece of culinary art. It combines complex techniques with rich flavors.
Origins in French Culinary Tradition
The dacquoise comes from France’s rich pastry tradition. Here, precision and elegance are key. French chefs turned simple ingredients into a complex dessert.
They use nuts and egg whites to make crisp meringue layers. These layers form the base of this amazing dessert.
Key Components and Characteristics
A traditional dacquoise has unique elements:
- Crisp meringue base made with almonds and hazelnuts
- Smooth buttercream filling
- Luxurious chocolate ganache
- Gluten-free composition
The meringue layers are carefully made, usually 13 by 10½ inches before trimming. Each layer needs exact temperature control during baking and cooling.
What Makes It Special
This French patisserie masterpiece is known for its unique texture. The crisp meringue softens slightly with buttercream, offering a delicious experience.
“A dacquoise is not just a dessert, it’s an edible work of art” – French Pastry Chef
| Component | Key Characteristics |
|---|---|
| Meringue | Crisp, nutty base using almonds and hazelnuts |
| Buttercream | Smooth, rich filling with espresso undertones |
| Ganache | Luxurious chocolate layer adding depth |
Essential Ingredients for Perfect Dacquoise
Making a top-notch chocolate espresso dacquoise needs the right ingredients. These ingredients must work well together for a great dessert. Your crunchy hazelnut praline and coffee-flavored buttercream need the best parts to make it special.
Start with choosing your ingredients carefully. You’ll need the right amounts for the best taste and texture:
- 4 egg whites for meringue stabilization
- 3/4 cup almond meal
- 1/2 cup toasted hazelnuts
- 3/4 cup white sugar for meringue
- 1/4 teaspoon cream of tartar
For the coffee-flavored buttercream and chocolate, you’ll need:
| Ingredient | Quantity |
|---|---|
| Whole milk | 3/4 cup |
| Bittersweet chocolate | 6 oz |
| Heavy whipping cream | 3/4 cup |
Pro tip: Always use fresh, high-quality ingredients to ensure your crunchy hazelnut praline and coffee-flavored buttercream shine through in every bite.
Remember, precision is key. Toasting hazelnuts brings out their taste. Also, measure egg whites and sugar carefully for the right meringue texture. Your hard work will turn a good dacquoise into an amazing dessert.
Temperature and timing are very important. Heat your oven to 250°F for meringue baking. Plan for about 1.5 hours of baking plus extra resting time.
Equipment and Tools Needed for Preparation
Making a fancy dessert like Chocolate Espresso Dacquoise needs the right baking tools. You’ll need the best equipment to succeed. This dessert requires precision and top-notch kitchen tools.
Baking Equipment Essentials
For a fancy dessert, you’ll need specific baking tools for perfect results. Key items include:
- ¼ sheet pan for precise meringue preparation
- Parchment paper for non-stick baking
- Digital kitchen scale for accurate measurements
- Silicone baking mats
Measuring and Mixing Tools
When making a fancy dessert, precision is key. You’ll need:
- Stand mixer with whisk and paddle attachments
- Measuring cups and spoons
- Instant-read thermometer
- Sifter for dry ingredients
| Tool Category | Recommended Items | Purpose |
|---|---|---|
| Mixing | Stand Mixer | Whipping egg whites, creating buttercream |
| Measuring | Digital Scale | Precise ingredient measurements |
| Baking | Parchment Paper | Non-stick meringue preparation |
Decoration Tools
Turn your dessert into a pro-level masterpiece with these decoration tools:
- Offset spatula for smooth layers
- Piping bags and tips
- Serrated knife for clean cuts
- Chocolate decorating tools
Pro tip: Invest in quality tools to elevate your baking experience and ensure stunning results.
Making the Nutty Meringue Base
Creating the perfect meringue base is key for a tasty gluten-free cake. Your journey starts with precise ingredients and careful steps. You’ll turn simple egg whites into a delicate, nutty base that’s the heart of this dessert.
To make your layered meringue cake, you need certain ingredients for the base:
- 6 large egg whites
- 1 cup granulated sugar
- 3/4 cup almond flour
- 1/4 cup unsweetened cocoa powder
- 1/8 teaspoon cream of tartar
The secret to a great gluten-free cake is mastering the meringue technique. Whip your egg whites until they’re stiff, glossy peaks. Then, fold in the dry ingredients. You can also use hazelnut or pistachio flours for a unique twist.
“Precision is the secret to a perfect meringue base” – Professional Pastry Chef
Baking needs patience. Preheat your oven to 225°F. Spread the meringue mixture evenly, leaving space between discs. Bake for about 60 minutes until it’s firm and dry. Let it cool slowly by leaving the oven door open for an hour or overnight.
| Ingredient | Quantity | Purpose |
|---|---|---|
| Egg Whites | 6 large | Structure and volume |
| Almond Flour | 3/4 cup | Nutty flavor and texture |
| Cocoa Powder | 1/4 cup | Depth of flavor |
Your meringue base is now ready. It will be the foundation of an amazing gluten-free layered meringue cake.
Creating the Coffee-Flavored Buttercream
Making the perfect coffee-flavored buttercream is an art that takes your Chocolate Espresso Dacquoise to the next level. This rich, smooth cream adds depth and complexity to your dessert. It creates a symphony of flavors that dance on your palate.
Pastry Cream Foundation
Your coffee-flavored buttercream begins with a strong pastry cream base. This process needs precision and patience. You must carefully temper egg yolks to make a silky smooth foundation. This foundation will eventually turn into a luxurious buttercream.
- Use 6 egg yolks weighing approximately 112 grams
- Add ¾ cup of granulated sugar (149 grams)
- Incorporate 20 tablespoons of unsalted butter (282 grams)
Infusing Coffee Essence
The magic of coffee-flavored buttercream is its intense coffee flavor. Using instant espresso powder gives you a deep, rich coffee taste. This complements the chocolate layers perfectly. Add 1 tablespoon of instant espresso granules for the perfect balance.
“The secret to extraordinary buttercream is in the careful balance of flavors” – Pastry Chef Expert
Mix your buttercream for 3 to 5 minutes. This ensures a smooth, creamy texture that spreads effortlessly between your dacquoise layers. Your coffee-flavored buttercream is now ready to turn your dessert into a culinary masterpiece.
Mastering the Chocolate Ganache
Making the perfect chocolate ganache is key to a great chocolate espresso dacquoise. Start by picking top-notch bittersweet chocolate for a rich, smooth ganache. You’ll need 227 grams (8 ounces) of chocolate and 238 grams (1 cup) of heavy cream for the right mix.
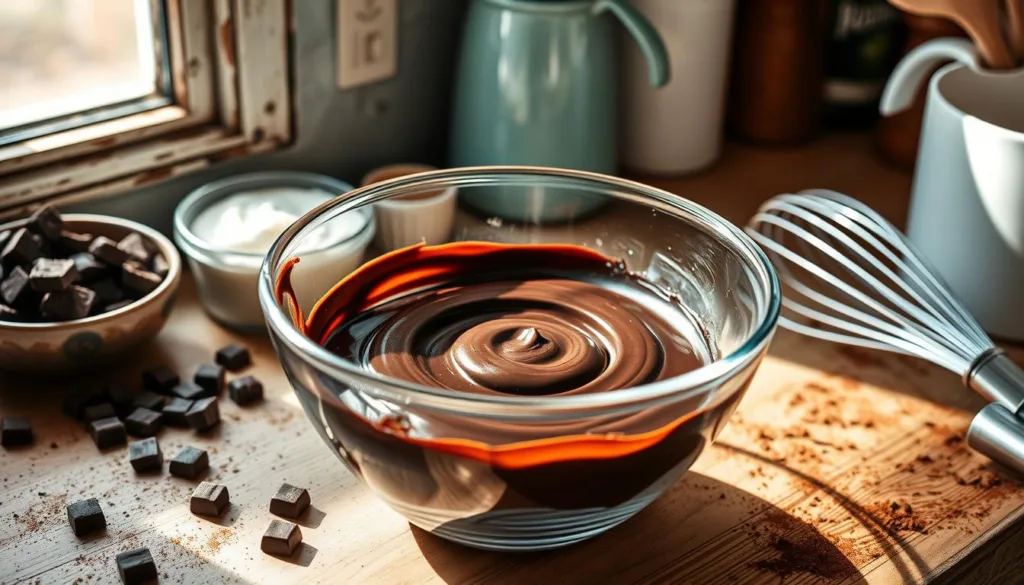
- Finely chop the bittersweet chocolate for even melting
- Heat the heavy cream until it’s almost boiling
- Pour the hot cream over the chocolate
- Let it sit for a bit
- Stir gently until it’s smooth and shiny
For a chocolate espresso dacquoise, you want ganache that’s spreadable but holds shape. Aim for a ganache that’s firm enough to shape but soft for spreading and coating.
“The secret to a perfect ganache lies in the quality of chocolate and the precision of technique.” – Pastry Chef Insight
Challenges like graininess or separation can be prevented by:
- Using room temperature ingredients
- Stirring gently and consistently
- Letting the ganache cool to the right temperature
- Avoiding sudden temperature changes
| Chocolate Type | Ganache Characteristic |
|---|---|
| Bittersweet | Rich, deep flavor profile |
| Dark Chocolate | Intense, less sweet ganache |
The chocolate ganache is the highlight of your chocolate espresso dacquoise. It turns it into a culinary masterpiece.
Step-by-Step Assembly Guide
Making a layered meringue cake is all about precision and patience. It turns simple parts into a stunning dessert that will wow everyone.
Layering Techniques for Perfection
Start by preparing your dacquoise carefully. Make sure your meringue rectangles are 10 by 3 inches. Keeping each layer the same thickness and aligned is key.
- Trim meringue layers to precise dimensions
- Use a sharp knife for clean edges
- Ensure each layer is completely cool before assembling
Temperature and Timing Strategies
Temperature control is crucial for a perfect dessert. Each layer needs special care to avoid damage.
| Component | Recommended Temperature | Handling Time |
|---|---|---|
| Meringue | Room Temperature | 15-20 minutes |
| Buttercream | Slightly Cool | 10-15 minutes |
| Ganache | Slightly Warm | 5-10 minutes |
Chill your cake between layers for the best results. This helps each layer set and prevents them from sliding. The whole process can take up to 24 hours, making sure everything is just right.
“Patience is the secret ingredient in creating a flawless dacquoise.” – Pastry Chef’s Wisdom
Remember, practice makes perfect with this dessert. Take your time, work carefully, and enjoy making your masterpiece.
Professional Decoration Techniques
Turn your Chocolate Espresso Dacquoise into a stunning French patisserie masterpiece. Use these professional decoration techniques. Making a simple dessert into art needs precision, creativity, and detail.
When decorating your dacquoise, aim for a smooth, glossy ganache coating. This becomes your canvas for creativity. Professional bakers know that looks are as important as taste for a memorable dessert.
- Press sliced almonds neatly along the cake’s exterior for a refined texture
- Create intricate patterns using piped ganache or buttercream
- Arrange whole nuts artistically on the top surface
“Decoration is the art that transforms a good dessert into an unforgettable experience.” – French Pastry Chef
For a truly professional finish, try these advanced techniques:
- Use a rotating cake stand for even ganache application
- Chill the cake between decoration stages
- Practice precise cutting techniques to maintain the elegant presentation
Pro tip: Clean, sharp cuts are essential for showcasing your elegant plated dessert’s intricate layers and professional craftsmanship.
Common Challenges and Solutions
Making a perfect layered meringue cake can be hard, even for experts. This dessert needs precision and careful steps to avoid common problems. These issues can ruin your beautiful cake.
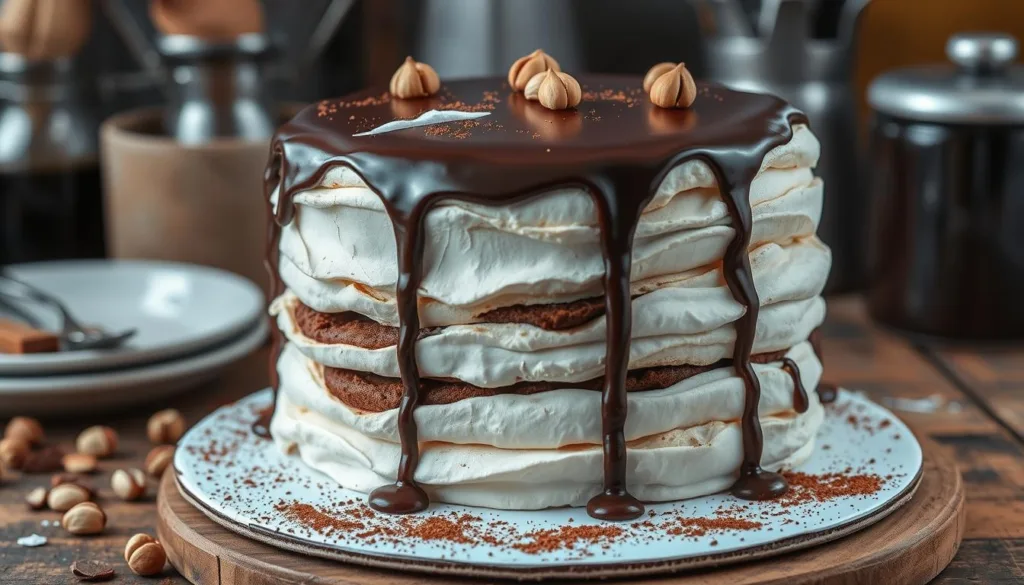
Navigating Meringue Mishaps
Meringue can be tricky in your dessert recipe. Here are some common problems and how to fix them:
- Cracking Meringue: Often caused by overmixing or incorrect oven temperature
- Humidity can make meringue soft and unstable
- Using room temperature egg whites helps create stable peaks
Buttercream Consistency Secrets
Getting the right buttercream for your layered meringue cake is key:
| Issue | Cause | Solution |
|---|---|---|
| Separated Buttercream | Temperature inconsistency | Warm slightly and re-whip |
| Too Soft Buttercream | Warm kitchen environment | Chill briefly before using |
“Patience and precision are the secret ingredients in any successful dessert recipe.” – Professional Pastry Chef
Remember, practice makes perfect with your layered meringue cake. Every try gets you closer to making this amazing dessert.
Knowing these common problems will boost your baking confidence. You’ll make stunning dacquoise that will wow everyone.
Storage and Serving Recommendations
Keeping your dessert’s texture right is key. Your chocolate espresso dacquoise needs special care to keep its layers and flavors perfect.
- Refrigerate right after you make it
- Use an airtight container to stop moisture from getting in
- Eat it in 2-3 days for the best taste and texture
“The secret to a perfect dacquoise is in its delicate preservation” – Pastry Chef Recommendation
Here’s how to serve it like a pro:
- Take it out of the fridge 15-30 minutes before you serve
- Use a warm knife for clean cuts
- Plate it at room temperature to bring out the flavors
| Storage Condition | Recommended Duration |
|---|---|
| Refrigerated | Up to 3 days |
| Room Temperature | 4-6 hours max |
Pro tip: Always store your chocolate espresso dacquoise away from strong-smelling foods to preserve its delicate flavor profile.
Time Management and Preparation Schedule
Making a French patisserie Chocolate Espresso Dacquoise needs careful planning and time management. This elegant treat is an art that requires patience and precision.
Strategic Three-Day Planning Guide
Breaking down your dacquoise into stages makes it easier to manage. Here’s a detailed timeline to guide you:
- Day 1: Prepare foundational components
- Day 2: Assemble primary layers
- Day 3: Final decoration and finishing touches
Detailed Preparation Workflow
Your French patisserie journey starts with precise ingredient preparation. The recipe needs specific measurements for perfect results:
| Day | Tasks | Estimated Time |
|---|---|---|
| Day 1 | Prepare meringue base | 2-3 hours |
| Day 2 | Create buttercream and ganache | 1-2 hours |
| Day 3 | Final assembly and decoration | 1-2 hours |
Make-Ahead Options
Many parts of your dessert can be made ahead of time. Meringue layers can be stored for up to 2 days. The ganache needs about 10-15 minutes to cool before you assemble it.
“Patience is the secret ingredient in creating extraordinary French pastry.” – Professional Pastry Chef
Pro tip: Always read the recipe twice before starting to avoid mistakes.
By following this structured plan, you’ll make a complex French patisserie dessert recipe easier and more fun to make.
Gluten-Free Aspects and Benefits
Making a gluten-free cake is a big win for those who can’t eat gluten. The chocolate espresso dacquoise is a great example. It’s gluten-free and still tastes amazing.
This dessert is special because it uses almond flour instead of wheat. This makes it safe for people with celiac disease. It also gives the meringue layers a delicious nutty flavor.
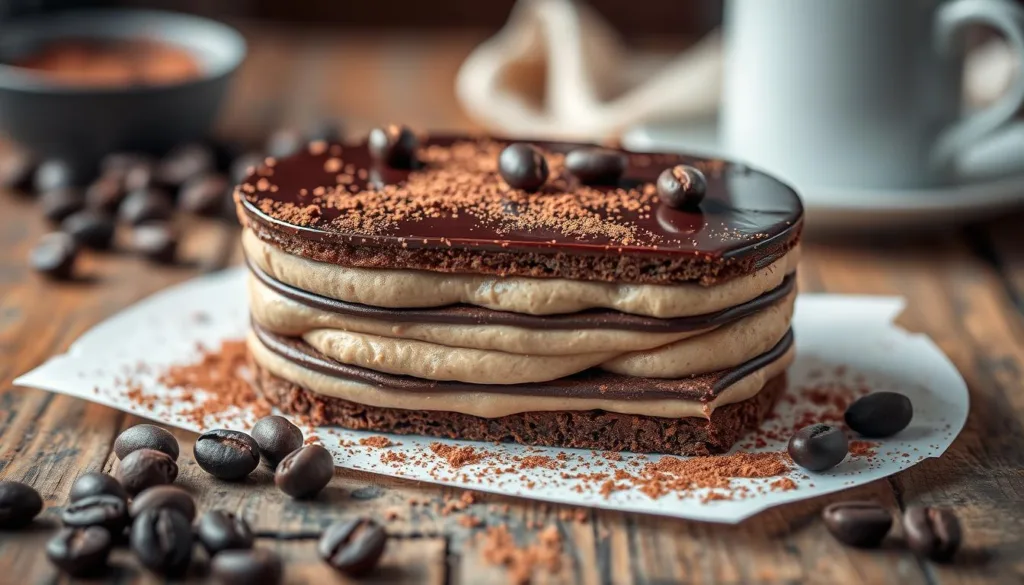
- Naturally gluten-free due to nut-based meringue layers
- Safe for individuals with gluten sensitivities
- Enhanced flavor profile from almond flour
- Reduced risk of cross-contamination
Here are some important tips for making your gluten-free cake:
- Use certified gluten-free almond flour
- Clean kitchen surfaces thoroughly
- Use separate baking tools to prevent cross-contamination
- Check all ingredient labels carefully
A gluten-free dessert can be just as delicious and satisfying as traditional recipes!
This gluten-free dessert recipe is versatile. You can enjoy a fancy dessert without worrying about gluten. The almond flour makes it less sweet, making it a better choice for dessert.
| Benefit | Description |
|---|---|
| Dietary Flexibility | Suitable for gluten-sensitive individuals |
| Nutritional Value | Almond flour adds protein and healthy fats |
| Flavor Enhancement | Nutty undertones from almond base |
Variations and Flavor Adaptations
Your chocolate espresso dacquoise dessert recipe is perfect for trying new things. It’s a great base for mixing up flavors. This can turn a classic French pastry into something truly unique.
- Pistachios for a bright green color and nutty taste
- Hazelnuts for a deep, rich flavor
- Pecans for a Southern twist
For the buttercream, try different flavors:
- Liqueur-infused buttercream like Grand Marnier or Amaretto
- Fruit extracts like raspberry or orange
- Spice-enhanced versions with cinnamon or cardamom
The ganache layer is also a chance to get creative. Here are some ideas:
- White chocolate ganache for a lighter taste
- Fruit puree-infused ganache like passion fruit or cherry
- Dark chocolate with sea salt for a bold flavor
“The beauty of dacquoise lies in its adaptability—each variation tells a unique culinary story.”
But remember, keep the core of your chocolate espresso dacquoise the same. This way, your creativity can make it a one-of-a-kind dessert.
Tips for Perfect Presentation
Creating an elegant plated dessert is more than just cooking. Your French patisserie masterpiece needs a presentation that makes it look and taste amazing. The art of plating turns your chocolate espresso dacquoise into a restaurant-quality treat.
When slicing your dacquoise, precision is key. Here are some professional techniques for a flawless presentation:
- Warm your knife slightly before cutting to achieve clean, smooth slices
- Use a serrated knife for the most precise edges
- Wipe the knife between each cut to maintain pristine lines
Visual appeal is as important as taste in an elegant plated dessert. Here are some plating strategies:
- Select plates with high contrast to showcase the dessert’s colors
- Use minimal, strategic garnishes
- Create height and dimension on the plate
“In French patisserie, presentation is the silent storyteller of culinary art.”
| Garnish Type | Visual Impact | Flavor Complement |
|---|---|---|
| Chocolate curls | Elegant texture | Enhances chocolate notes |
| Fresh berries | Color pop | Adds fruity brightness |
| Edible flowers | Delicate sophistication | Subtle floral undertones |
Remember, restraint is the hallmark of true culinary elegance. Your goal is to create a visual masterpiece that invites both the eyes and the palate.
Conclusion
Making a chocolate espresso dacquoise is a journey that turns hard techniques into a beautiful layered meringue cake. Your hard work can make this tough dessert into a stunning piece that pleases both the eyes and taste buds. It takes over two hours to prepare, showing the need for patience and skill.
This dessert is special because you can make it your own. You can try different flavors and decorations to make it unique. Even though it takes practice to get it right, the joy of making it is worth it.
Every layer of your dacquoise tells a story of skill and love. From toasting hazelnut powder to whipping egg whites until stiff, each step is important. Your effort to master these techniques will make this cake a true work of art.
Take on the challenge, believe in your abilities, and enjoy making a chocolate espresso dacquoise. It will amaze and inspire all who taste your amazing baking.
FAQ
Is a chocolate espresso dacquoise difficult to make?
Making a chocolate espresso dacquoise is a bit complex. But, with careful preparation and attention to detail, it’s doable. Follow each step carefully, take your time, and practice whipping meringue and making smooth buttercream. With patience and practice, you can master this elegant French pastry.
Can I make the dacquoise gluten-free?
Yes, the chocolate espresso dacquoise is naturally gluten-free. It uses ground nuts instead of wheat flour. This makes it great for those with gluten sensitivities or celiac disease. Just make sure to check all ingredient labels and avoid cross-contamination in your kitchen.
How far in advance can I prepare a chocolate espresso dacquoise?
You can prepare parts of the dacquoise up to 3 days in advance. Bake the meringue layers and store them in an airtight container. Make the buttercream and ganache ahead and refrigerate them. The whole dessert can be refrigerated for 2-3 days before serving.
What nuts work best in a dacquoise?
Hazelnuts and almonds are the traditional choices for dacquoise. Hazelnuts have a rich, deep flavor that pairs well with chocolate and coffee. Almonds offer a lighter, more delicate taste. You can also try pistachios or a mix of nuts for unique flavors.
How do I prevent my meringue from becoming too crisp?
To avoid overly crisp meringue, bake at a low temperature (around 250°F). Don’t open the oven during baking. Use a low, slow baking method and remove the meringue when it’s still slightly soft in the center. Proper storage in an airtight container will also help maintain the ideal texture.
Can I substitute the coffee flavor in the buttercream?
Absolutely! You can substitute the espresso powder with vanilla extract, liqueurs, or other flavor concentrates. Just be mindful of the liquid content and adjust accordingly to maintain the buttercream’s consistency.
What’s the best way to cut and serve the dacquoise?
For clean cuts, use a sharp knife warmed under hot water and wiped dry between each slice. Serve the dacquoise slightly chilled but not completely cold. This ensures the best texture and flavor release. Use a serrated knife for the most elegant presentation.
How do I store leftover dacquoise?
Store the dacquoise in an airtight container in the refrigerator for up to 3 days. Place parchment paper between layers to prevent sticking. Cover carefully to prevent the dessert from absorbing refrigerator odors. Let it come to room temperature for about 15-20 minutes before serving for optimal flavor and texture.
Looking for more irresistible recipes? Try our guide on How to Make Perfect Sticky Buns for a sweet, gooey treat that’s sure to impress. If you’re in the mood for savory breakfast ideas, don’t miss our Tomato and Feta Baked Eggs, a flavorful twist on a classic morning meal. And for something simple yet satisfying, check out our easy recipe for Scrambled Eggs. Dive into these delicious recipes today and elevate your cooking game!
Join Our Community!
💬 Facebook: Stay updated with our latest recipes, cooking tips, and delicious inspiration. Join the conversation and share your creations with us on American Tasty’s Facebook page.
📌 Pinterest: Discover mouthwatering recipe ideas and save them for later! Follow our boards on American Tasty’s Pinterest for endless culinary inspiration.
✨ Why Join?
- Get exclusive recipes and updates.
- Share your food creations and inspire others.
- Connect with a community of food lovers like you!
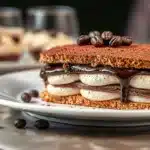
Chocolate Espresso Dacquoise
Ingredients
- 4 egg whites
- 3/4 cup almond meal
- 1/2 cup toasted hazelnuts
- 3/4 cup white sugar
- 1/4 teaspoon cream of tartar
- 3/4 cup whole milk
- 6 oz bittersweet chocolate
- 3/4 cup heavy whipping cream
Instructions
- Prepare the meringue by whipping egg whites to stiff peaks with sugar and cream of tartar. Fold in the nut flour.
- Bake meringue layers in a preheated oven at 250°F for 1.5 hours, then let cool.
- Prepare the coffee buttercream by mixing egg yolks, sugar, and butter, then infuse with espresso.
- Make the ganache by heating cream and pouring over chopped chocolate. Stir until smooth.
- Assemble the dacquoise by layering meringue with buttercream and ganache. Chill between layers.
- Decorate with additional ganache and nuts as desired.

