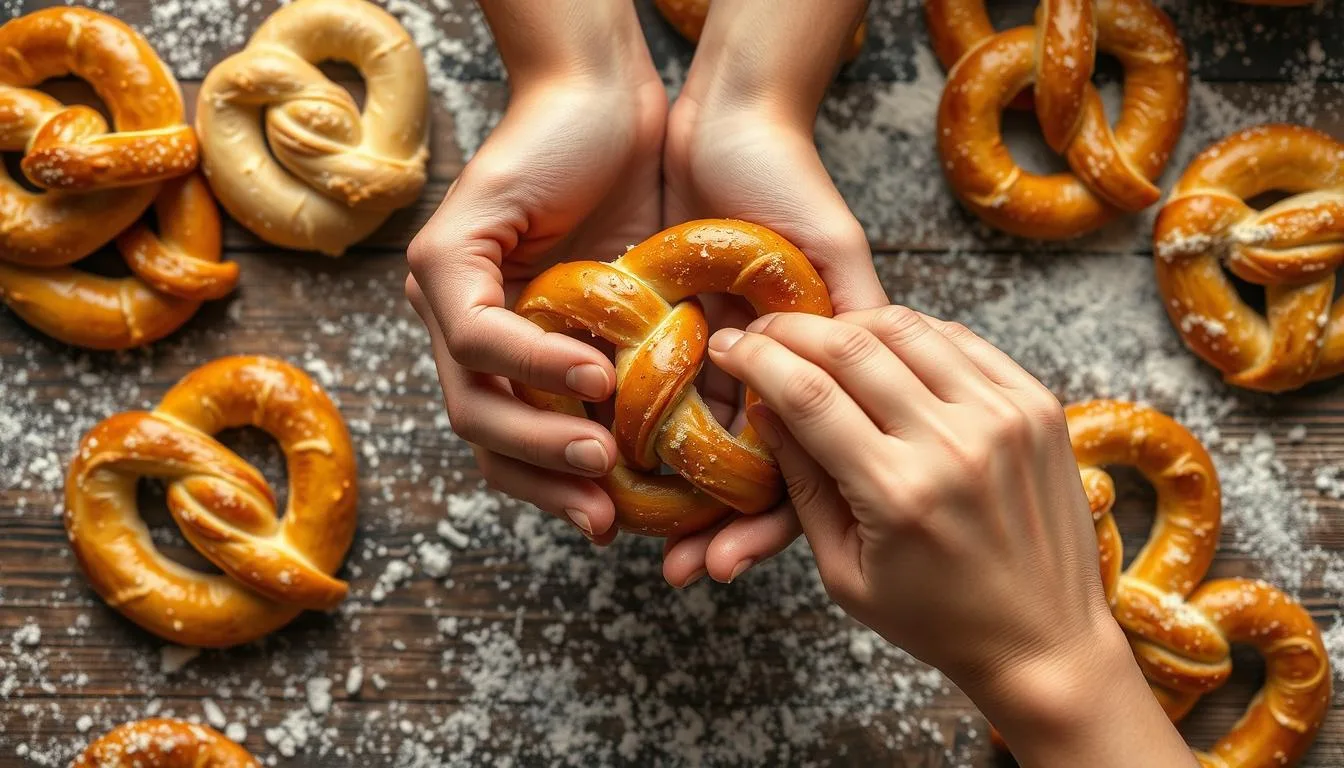
There’s something magical about pulling fresh homemade Basic Soft Pretzels straight from the oven. The warm, golden-brown twists bring back memories of street vendors and cozy bakeries. They fill your kitchen with an irresistible aroma that promises pure comfort.
Making soft pretzels at home isn’t just a cooking task—it’s a delightful experience. It transforms simple ingredients into a culinary masterpiece.
This easy soft pretzel recipe will guide you through creating bakery-quality pretzels right in your own kitchen. Whether you’re a novice baker or a seasoned pro, these homemade pretzels will become your new favorite weekend baking project. The secret is in the simple baking soda bath that gives these pretzels their signature chewy texture and deep golden color.
Key Takeaways
- Perfect for bakers of all skill levels
- Quick and easy soft pretzel recipe
- Requires minimal special equipment
- Can be customized with various toppings
- Freezer-friendly for future enjoyment
- Takes just 40 minutes total time
Introduction to Classic Homemade Soft Pretzels
Soft pretzels are more than a snack. They’re a journey through tradition and flavor in your kitchen. Their history goes back centuries, rooted in European baking.
History of Traditional Soft Pretzels
The pretzel’s story starts in medieval monasteries. Monks made these twisted breads as rewards for kids learning prayers. These twisted bread shapes soon spread across Europe, becoming a cherished tradition.
“A pretzel is not just bread, it’s a piece of cultural history you can taste.”
Why Make Pretzels at Home
- Complete control over ingredients
- Fresher than store-bought options
- Cost-effective baking experience
- Fun family cooking activity
What Makes These Pretzels Special
Homemade pretzels offer soft pretzel characteristics that store-bought ones can’t. The secret is in three key elements:
- Authentic baking soda bath
- Fresh, high-quality ingredients
- Customizable flavor profiles
| Characteristic | Homemade Pretzels | Store-Bought |
|---|---|---|
| Freshness | Immediate consumption | Potentially days old |
| Ingredient Quality | Controlled selection | Mass-produced ingredients |
| Flavor Customization | Unlimited options | Limited variations |
By diving into the craft of soft pretzels, you turn a simple recipe into a delightful experience. It connects you to centuries of baking tradition.
Essential Ingredients for Basic Soft Pretzels
Making delicious soft pretzels starts with the right ingredients. With a few simple items, you can turn basic kitchen staples into tasty treats.
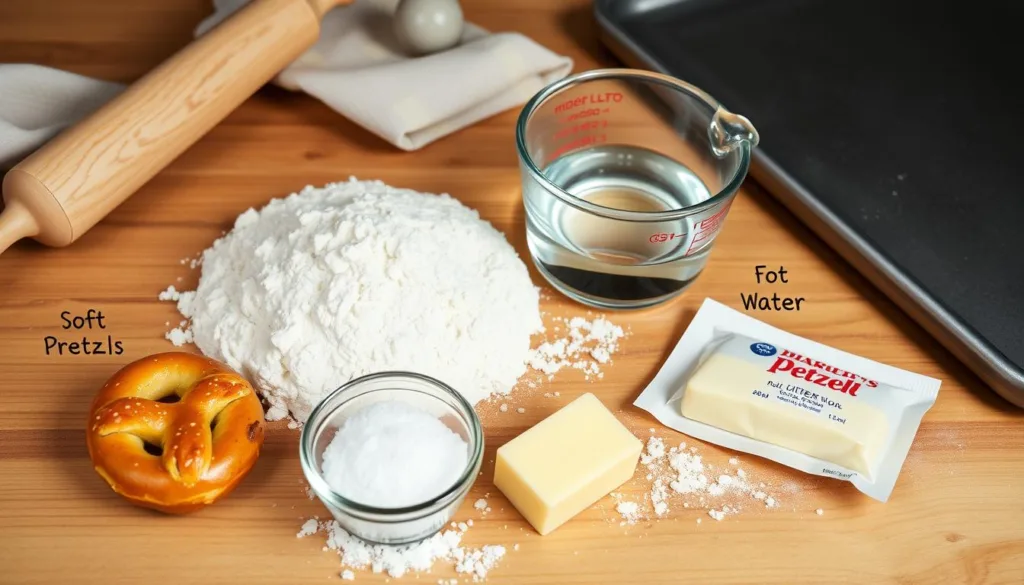
Quality ingredients are key to making soft pretzels. Choose instant or active dry yeast for the best rise. The flour you pick is also important for that soft texture.
“Great pretzels begin with great ingredients” – Pretzel Artisan
Key Ingredients Breakdown
- Warm Water (1½ cups): The liquid base for your dough
- Yeast (2¼ teaspoons): Provides rise and texture
- Salt (1 teaspoon fine salt): Enhances flavor
- Brown Sugar (3 tablespoons): Adds subtle sweetness
- Unsalted Butter (5 tablespoons): Contributes richness
- All-Purpose Flour (3 cups): Builds dough structure
But your baking journey doesn’t end there. A baking soda bath (¼ cup baking soda) gives that pretzel look. And coarse salt adds the perfect finish.
| Ingredient | Quantity | Purpose |
|---|---|---|
| Warm Water | 1½ cups | Activates yeast, forms dough base |
| Instant Yeast | 2¼ teaspoons | Enables dough rising |
| All-Purpose Flour | 3 cups | Provides dough structure |
The quality of your ingredients matters a lot. Fresh, high-quality ingredients will make your pretzels truly special.
Kitchen Tools and Equipment Needed
Making homemade pretzels needs the right tools. Whether you’re new or experienced, the right equipment makes baking pretzels fun and easy.
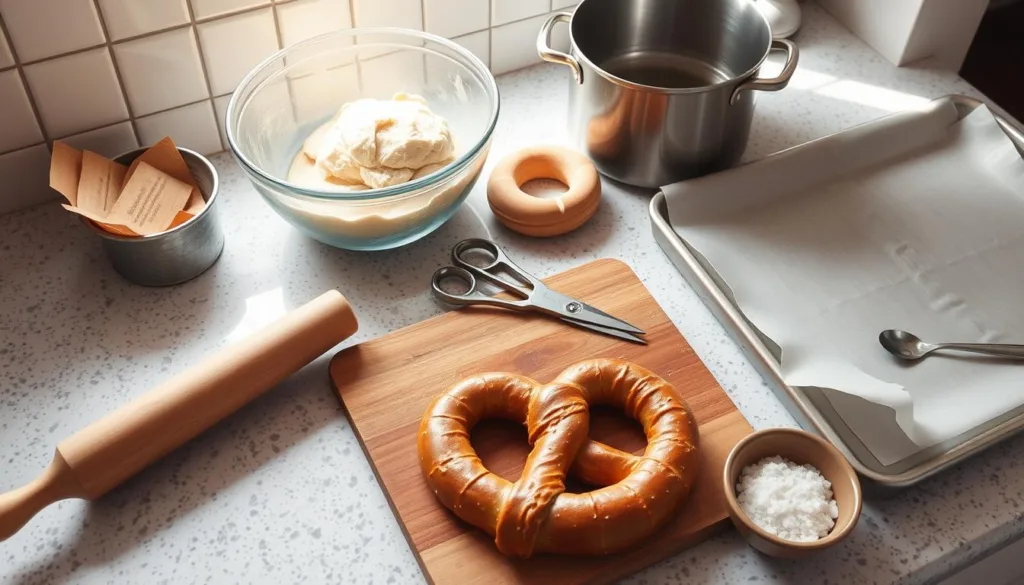
Home pretzel making is an art that needs special kitchen tools. The right tools can make your baking process enjoyable.
Must-Have Tools for Pretzel Making
- Stand mixer for pretzels with a dough hook attachment
- Large mixing bowl
- Wooden spoon
- Baking sheets for pretzels
- Large pot for baking soda bath
- Measuring cups and spoons
Optional But Helpful Equipment
- Pizza cutter for precise dough shaping
- Silicone baking mats
- Slotted spatula
- Kitchen scale for precise measurements
- Pastry brush
Best Baking Surface Options
| Baking Surface | Pros | Recommended For |
|---|---|---|
| Parchment Paper | Non-stick, easy cleanup | Beginners |
| Silicone Baking Mats | Reusable, perfect heat distribution | Advanced bakers |
| Aluminum Baking Sheets | Durable, even heating | All skill levels |
“The right tools can turn pretzel making from a challenge into a culinary adventure!” – Professional Baker
Quality pretzel baking tools make your homemade pretzels amazing. A stand mixer simplifies dough making. Good baking sheets ensure pretzels are always golden.
Step-by-Step Dough Preparation
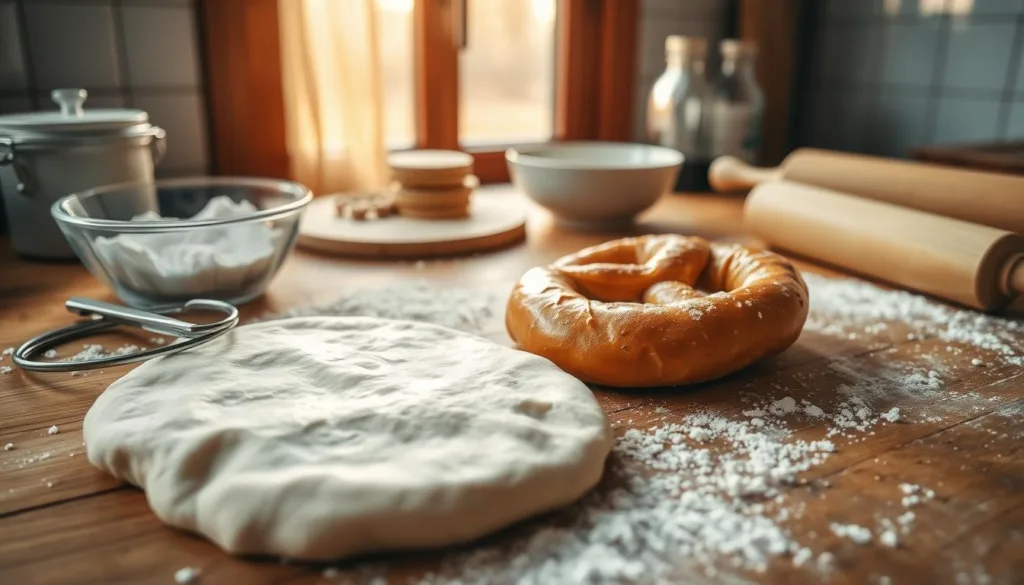
Making the perfect pretzel dough is all about precision and care. It starts with activating the yeast, which is key for flavor and texture. Begin by mixing 1½ cups of warm water with 3 teaspoons of instant dry yeast in a big bowl.
Yeast activation is key for that soft pretzel feel. Sprinkle yeast over warm water (around 110°F) and wait for 5 minutes. When it gets foamy, it means the yeast is alive and ready to make your dough special.
Here’s how to knead your pretzel dough:
- Add 4 cups of all-purpose flour to the yeast mixture
- Mix in 1½ teaspoons of salt
- Include 1 tablespoon of molasses for extra flavor
- Knead until the dough is smooth and a bit sticky
“The secret to great pretzels is in the technique, not just the ingredients.”
Kneading for 8-10 minutes helps develop the gluten. The dough should be stretchy and almost see-through when you do the “windowpane test”.
After kneading, let the dough rest for 10 minutes before shaping. This quick step cuts down on rising time, making your pretzel-making faster and easier.
Pro tip: A stand mixer can make kneading easier, but hand-kneading works just as well with some practice!
The Secret to Perfect Pretzel Texture
To make the ultimate soft pretzel, you need to master three key techniques. These steps turn simple ingredients into a culinary masterpiece. You’ll learn about dough preparation, temperature control, and the pretzel baking soda bath.
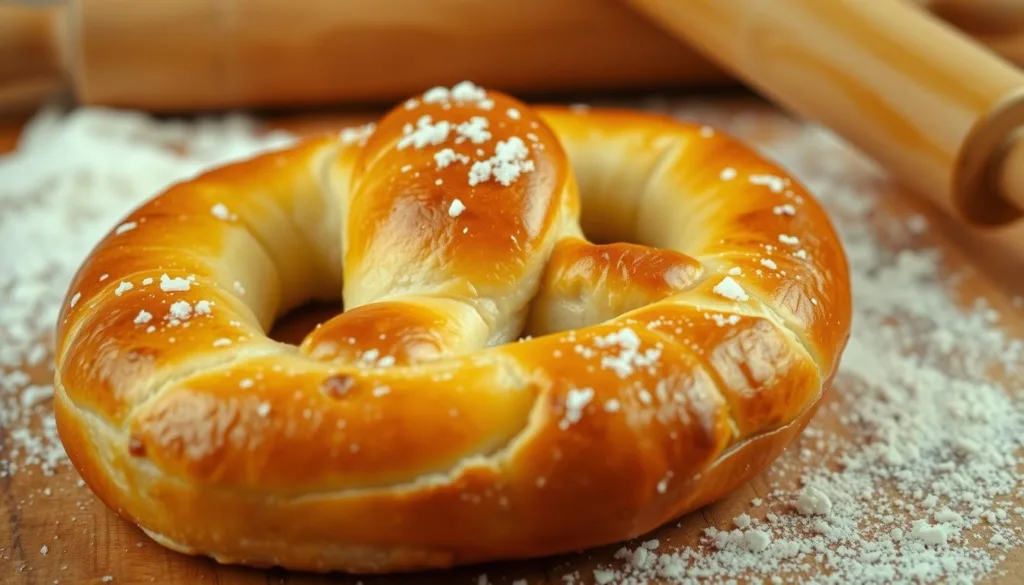
The pretzel baking soda bath is a game-changer. It gives pretzels their golden-brown crust and unique flavor. By briefly soaking pretzels in a boiling baking soda solution, you enhance their look and taste.
Understanding the Baking Soda Bath
Here’s how to prepare your pretzel baking soda bath:
- Use 10 cups of water mixed with ¾ cup baking soda
- Boil each pretzel for exactly 20-30 seconds
- Ensure water is at a rolling boil before adding pretzels
- Remove pretzels quickly to prevent over-soaking
Temperature Control Tips
The temperature of your pretzel dough is key. Keep it around 100°F (38°C) to activate yeast well. This temperature helps in fermentation, making the pretzel soft and chewy inside.
Proper Kneading Technique
Kneading pretzel dough is an art that builds gluten. This creates the chewy texture we love. Here’s how to knead:
- Knead on a lightly floured surface for 8-10 minutes
- Use the heel of your hand to push and fold the dough
- Rotate the dough quarter-turn between each knead
- Stop when the dough is smooth and elastic
“Patience and technique transform simple ingredients into extraordinary pretzels.”
Mastering the baking soda bath, temperature control, and kneading will give you soft pretzels. They’ll be crispy outside, tender inside, and full of flavor.
Shaping Techniques for Professional-Looking Pretzels
Learning how to shape pretzels is crucial for making them look great. The classic pretzel knot might look hard at first, but with practice, you’ll get the hang of it. Soon, you’ll be making pretzels that look like they came from a bakery.
Start by dividing your dough into equal parts. Try to make each piece about 75 grams. This helps your pretzels cook evenly and look the same.
Classic Pretzel Shaping Steps
- Roll the dough into a 20-22 inch rope
- Form a U-shape with the rope
- Cross the ends
- Twist the ends down onto the loop
You don’t have to stick to the traditional knot. Try out different shapes:
- Letter-shaped pretzels
- Heart-shaped pretzels
- Pretzel bites
- Braided pretzels
“Shaping pretzels is an art that combines technique and creativity.” – Artisan Baker
| Pretzel Shape | Difficulty Level | Visual Appeal |
|---|---|---|
| Classic Knot | Beginner | Traditional |
| Letter Shape | Intermediate | Personalized |
| Braided | Advanced | Intricate |
Pro tip: Keep your work surface lightly floured to prevent sticking and make shaping easier. Try out different pretzel knot techniques. This will help you improve and find what works best for you.
Baking Tips for Golden-Brown Results
To get perfect golden-brown pretzels, you need to be precise. The right temperature and time can make your homemade pretzels stand out.
Temperature and Timing Guidelines
Consistency is crucial when baking pretzels. Heat your oven to 425 degrees Fahrenheit for the best results. This temperature helps get a crispy outside and a soft inside.
- Bake for 12-15 minutes
- Rotate baking sheet halfway through cooking
- Watch for even golden-brown coloration
Visual Cues for Doneness
Getting the pretzels just right takes practice. Here are signs of perfectly baked pretzels:
| Color | Texture | Appearance |
|---|---|---|
| Deep golden brown | Slightly crisp exterior | Slight puffing around edges |
Pro tip: An egg wash before baking can give your pretzels a shiny, golden crust.
“The secret to perfect pretzels is watching them closely during the final minutes of baking.”
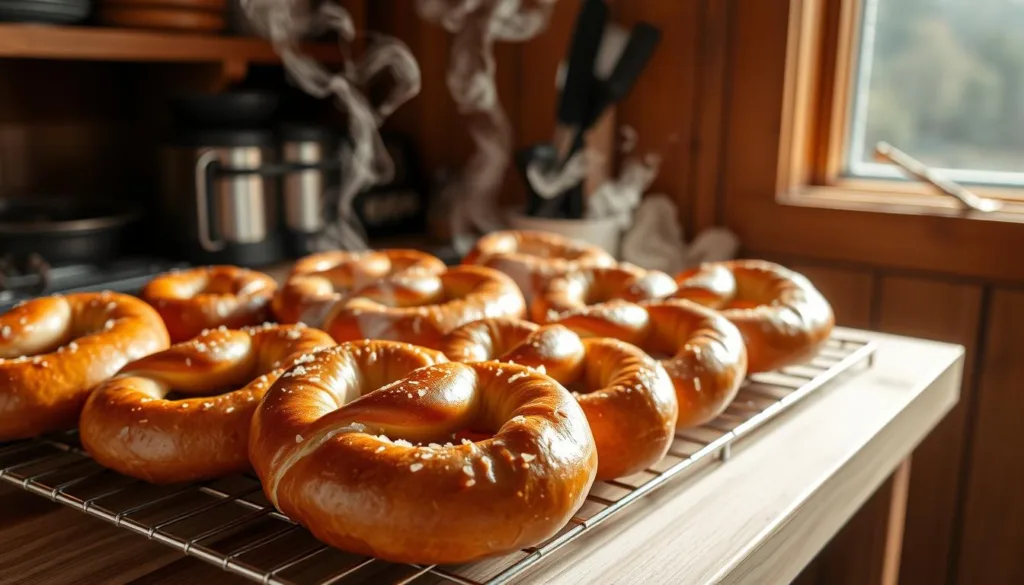
Keep in mind that ovens can differ. Start checking your pretzels at the 10-minute mark. Aim for a beautiful golden color without burning the dough.
Storage and Reheating Methods
Learning how to store and reheat your homemade soft pretzels is key. This way, you can enjoy their taste and texture for days. There are several methods to keep them fresh.
Room Temperature Storage
For short-term storage, follow these tips:
- Keep pretzels in an airtight container
- Store at room temperature for 2-3 days
- Avoid humid environments
Freezing Pretzels
Freezing is great for keeping pretzels fresh longer. Pro tip: Remove salt before freezing to prevent moisture absorption.
| Storage Method | Duration | Preparation |
|---|---|---|
| Freezer Storage | Up to 3 months | Wrap individually in plastic wrap |
| Refrigerator | Up to 1 week | Store in sealed container |
Reheating Pretzels
There are ways to reheat pretzels and make them taste like new:
- Oven Method (Recommended)
- Preheat to 350°F (177°C)
- Bake for 5-10 minutes
- Lightly brush with water or butter
- Microwave Method
- Wrap in damp paper towel
- Heat for 20-30 seconds
- Check for desired warmth
- Air Fryer Method
- Preheat to 350°F (175°C)
- Spray pretzels with water
- Air fry for 3-5 minutes
“The key to perfect reheated pretzels is maintaining moisture and avoiding overcooking.” – Pretzel Preservation Expert
By using these storage and reheating tips, your homemade soft pretzels will stay delicious for days.
Creative Topping Variations and Serving Suggestions
Make your homemade soft pretzels special with exciting toppings. Whether you like sweet or savory, there are many ways to make them stand out.
Traditional Salt Options
Start with classic salt toppings for your pretzels. Try different textures and flavors with these salts:
- Coarse sea salt
- Kosher salt
- Maldon salt
- Pretzel salt
Sweet and Savory Alternatives
Try unique toppings for a new taste:
| Sweet Toppings | Savory Toppings |
|---|---|
| Cinnamon-sugar blend | Everything bagel seasoning |
| Powdered sugar | Grated parmesan cheese |
| Chocolate drizzle | Ranch seasoning |
Dipping Sauce Ideas
Enjoy your pretzels with tasty dips:
- Spicy mustard
- Nacho cheese sauce
- Caramel sauce
- Chocolate ganache
- Cream cheese frosting
“The perfect pretzel is a canvas for culinary creativity!” – Pretzel Enthusiast
Pro tip: Set up a pretzel bar with many toppings and dips. It’s a fun way to snack that your guests will love!
Conclusion
Learning to make homemade soft pretzels turns your kitchen into a fun place. Your easy pretzel recipe lets you create tasty treats. It’s a great way to bring family and friends together for a fun baking time.
Homemade pretzels are more than just food. They keep alive a tradition from European immigrants. Every pretzel you make shares a story of skill and cultural heritage.
Soft pretzels are perfect for any craving, whether salty or sweet. You can try classic salt or new flavors. Your baking skills will wow everyone with your delicious pretzels.
Great cooking is about passion, practice, and sharing with loved ones. Your soft pretzel adventure is just starting. You’ll have lots of chances to try new things and enjoy every moment.
Transform your mealtime with two irresistible recipes that bring bold flavors to your table. If you’re craving a hearty, comforting dish, the Big Mac Casserole is the perfect choice. Packed with layers of seasoned beef, melted cheese, and classic toppings, it’s a family favorite. For a flavorful twist on a classic protein, try these tender and juicy Turkey Wings, seasoned to perfection and baked until golden. Both recipes are ideal for satisfying cravings and are easy to prepare for any occasion!
FAQ
How long does it take to make homemade soft pretzels?
Making homemade soft pretzels takes about 30-45 minutes. It’s quick and easy, perfect for beginners and experienced bakers alike.
What ingredients do I need to make soft pretzels?
You’ll need warm water, yeast, salt, sugar, melted butter, and flour. You’ll also use baking soda for the bath and coarse salt for topping.
Why do pretzels need a baking soda bath?
The baking soda bath gives pretzels their classic flavor and chewy texture. Boiling them for 20-30 seconds makes them golden and delicious.
Can I make variations of these pretzels?
Yes! Try making different shapes or adding toppings like everything bagel seasoning. Serve them with spicy mustard or chocolate sauce for extra fun.
How do I store homemade soft pretzels?
Keep pretzels in an airtight container at room temperature for up to 3 days. Freeze them for up to 3 months. Reheat by microwaving or baking at 350°F for 5-10 minutes.
What type of flour can I use?
You can use all-purpose flour or try whole wheat flour. The recipe is flexible, so you can choose based on your diet.
Do I need any special equipment to make pretzels?
You’ll need a large bowl, spoon or stand mixer, baking sheets, and a pot for the baking soda bath. Tools like a pizza cutter or silicone mats are optional.
How do I know when my pretzels are perfectly baked?
Check for a golden color and slight puffing. Bake at 400°F for 12-15 minutes, rotating the sheet halfway. Don’t overbake to keep them soft.

Basic Soft Pretzels
Ingredients
- Warm Water: 1½ cups
- Instant Yeast: 2¼ teaspoons
- Fine Salt: 1 teaspoon
- Brown Sugar: 3 tablespoons
- Unsalted Butter: 5 tablespoons
- All-Purpose Flour: 3 cups
- Baking Soda: ¼ cup
- Coarse Sea Salt: for topping
Instructions
- In a large bowl, mix warm water with yeast and let it foam for 5 minutes.
- Add flour, salt, and brown sugar; knead to form a smooth, slightly sticky dough.
- Let the dough rest for 10 minutes.
- Divide the dough and shape into ropes, creating pretzel shapes.
- Prepare a baking soda bath by boiling water with baking soda.
- Boil each shaped pretzel for 20-30 seconds.
- Place on baking sheets, sprinkle with coarse salt, and bake in a preheated oven at 425°F (220°C) for 12-15 minutes.

