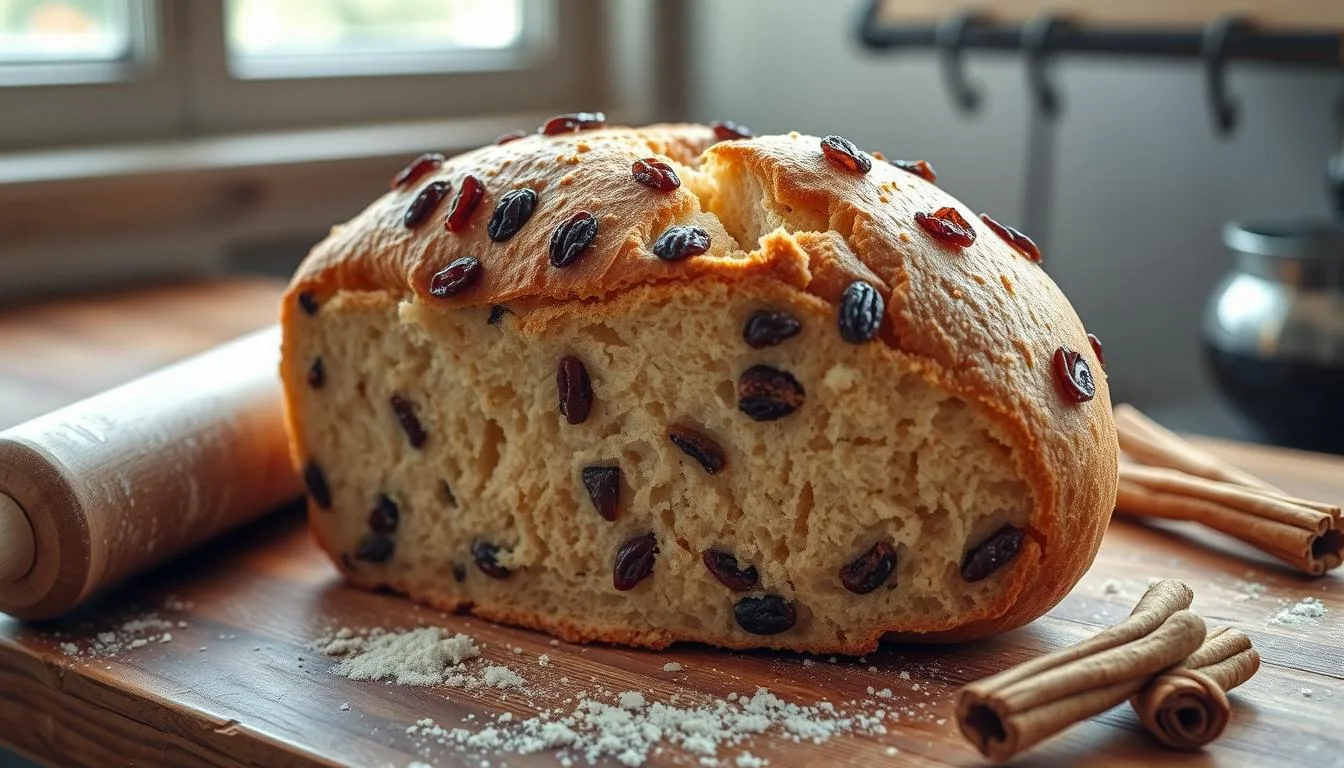
Every weekend, my kitchen fills with the smell of homemade raisin bread. It turns a simple morning into a special treat. Making this bread brings warmth and comfort, connecting us through tasty traditions.
Creating your own cinnamon raisin bread is more than baking. It’s about making memories. This easy recipe makes a soft, golden loaf with plump raisins and a sweet cinnamon swirl. It’s perfect for both experienced bakers and newcomers, encouraging you to get creative in the kitchen.
Key Takeaways
- Discover the joy of baking homemade raisin bread from scratch
- Learn techniques for perfect cinnamon swirl and raisin distribution
- Understand the science behind bread rising and flavor development
- Create a versatile bread perfect for breakfast or snacking
- Explore simple, approachable baking methods for delicious results
The Art of Making Perfect Raisin Bread
Making homemade raisin bread is all about the right tools and ingredients. Start by knowing the essential equipment and techniques for baking the perfect loaf.
Essential Bread Making Equipment
To make an amazing raisin bread, you’ll need some key tools:
- Stand mixer with dough hook
- 9″x5″ loaf pan
- Digital kitchen scale
- Large mixing bowls
- Measuring cups and spoons
- Cooling rack
Basic Raisin Bread Ingredients
Your ingredients will turn simple items into a tasty treat. Here’s what you need:
| Ingredient | Quantity | Weight |
|---|---|---|
| Unbleached All-Purpose Flour | 6 cups | 840 grams |
| Active Sourdough Starter | 1 cup | 200 grams |
| Coconut Oil | 1/2 cup | 112 grams |
| Salt | 1 tablespoon | 15 grams |
| Honey | 1/2 cup | 168 grams |
Understanding Types of Yeast for Bread
Choosing the right yeast is key for your raisin bread. Different yeasts can change your bread’s taste and texture:
- Instant Yeast: Quick-acting and doesn’t need to be activated
- Active Dry Yeast: Needs warm liquid to start working
- SAF Gold Instant Yeast: Best for sweeter doughs
“The secret to great bread is understanding your ingredients and treating them with respect.” – Professional Baker
Pro tip: Always check your yeast’s expiration date. Store it in a cool, dry place to keep it fresh.
Why Homemade Raisin Bread Beats Store-Bought
Making fresh raisin bread at home turns baking into a fun adventure. It’s not just about eating well. You get to choose every ingredient and flavor.
Homemade bread always wins over store-bought. It has a richer smell and taste. Plus, you can make it just the way you like it.
- Full ingredient transparency
- Zero preservative concerns
- Customizable sweetness levels
- Fresh-baked texture and flavor
“Nothing compares to bread that comes straight from your own oven, filled with love and personal touch.”
With homemade raisin bread, you can try new things. You can:
- Change how many raisins you use
- Try different spice mixes
- Use other dried fruits
- Make unique flavor combinations
Your kitchen will smell amazing. It’s a treat for your senses. The joy of baking becomes a sensory experience that store-bought loaves simply cannot replicate.
Preparing Your Raisins for Baking Success
Starting with the right raisins is key to making great raisin bread. The right steps can make your baking stand out.
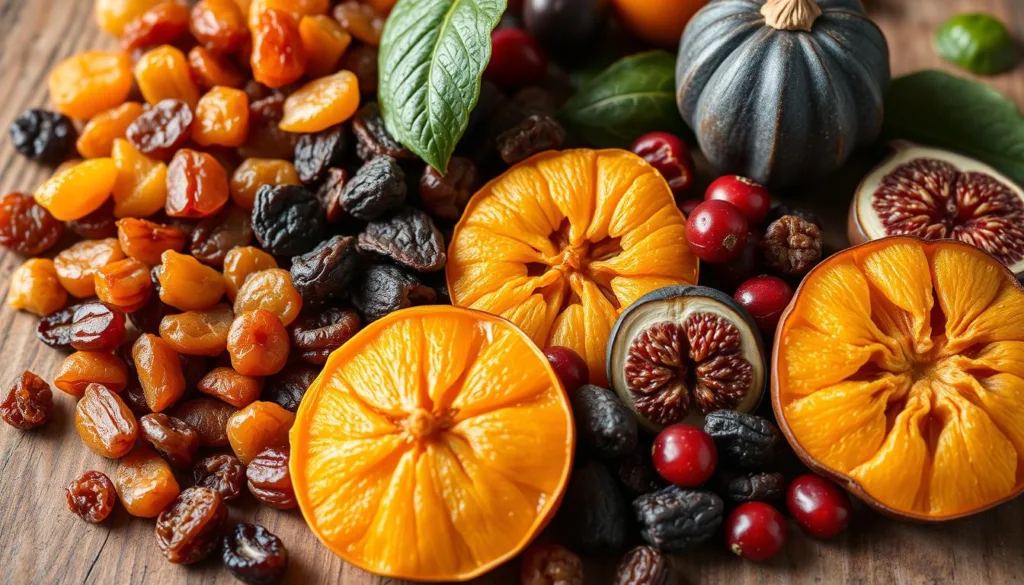
Rehydrating raisins is a must for tasty bread. The right dried fruit can make your baking better.
Selecting the Best Raisins
Here’s what to look for in raisins:
- Plump and soft texture
- Rich, deep color
- No signs of hardness or crystallization
- Organic or high-quality brands preferred
Proper Raisin Rehydration Techniques
Here are easy ways to rehydrate raisins:
- Boiling Water Method: Soak raisins in boiling water for 10-15 minutes
- Drain thoroughly on paper towels
- Gently pat dry to remove excess moisture
“The secret to perfect raisin bread lies in how you prepare your dried fruits.” – Artisan Baker’s Wisdom
Alternative Dried Fruits Options
Try these other dried fruits:
- Dried cherries
- Chopped dates
- Cranberries
- Mixed dried fruit blends
Pro tip: Rehydrate all dried fruits before adding to dough. This keeps your bread moist and tasty.
Follow these tips to make raisin bread that’s moist, flavorful, and irresistible!
Perfect Dough Mixing and Kneading Methods
Mastering bread dough techniques is key to making delicious raisin bread. Whether you’re new to baking or have experience, knowing the right mixing and kneading methods can make a big difference. It can turn your homemade loaf into something truly special.
Here are some important tips for kneading raisin bread:
- Stand Mixer Method
- Use a dough hook attachment
- Mix ingredients on medium-low speed
- Knead for approximately 10 minutes
- No-knead Bread Method
- Mix ingredients thoroughly
- Allow extended rising time (2-3 hours)
- Refrigerate dough up to 7 days for deeper flavor
“The secret to great bread is patience and technique.” – Professional Baker
When working with raisin bread dough, don’t add extra flour. A slightly sticky dough makes the bread softer and more tender. If using a stand mixer, add raisins during the last 2 minutes of kneading. This ensures they’re evenly spread.
Home bakers, remember: Gentle handling preserves the air pockets that create that perfect, light texture. Whether you’re kneading by hand or using the no-knead method, focus on developing gluten and giving the dough enough rest time.
| Kneading Method | Time Required | Difficulty Level |
|---|---|---|
| Stand Mixer | 10-12 minutes | Easy |
| No-Knead Method | 2-3 hours rising | Very Easy |
| Hand Kneading | 15-20 minutes | Moderate |
Remember, practice makes perfect. Each batch of raisin bread you make will help you get better at bread dough techniques and develop your baking intuition.
The Science Behind Cinnamon and Yeast Interaction
Baking raisin bread is a delicate process. It involves cinnamon and yeast working together. Knowing how they interact helps you make bread that rises perfectly.
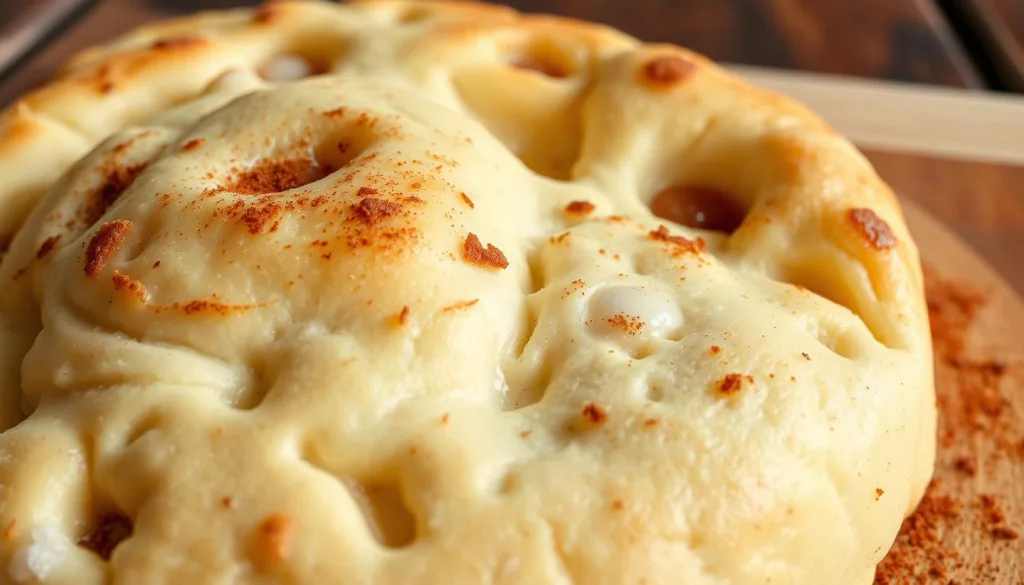
Cinnamon in bread dough is interesting. It has antifungal properties but doesn’t stop yeast. The trick is to know how to use these ingredients well.
Temperature Control Tips for Yeast Activation
Getting your bread to rise right depends on temperature. Here are some key tips for yeast activation:
- Use water between 100-110°F for active dry yeast
- Aim for 120-130°F when working with instant yeast
- Create a warm environment around 80-85°F for rising
Optimal Rising Conditions
Your bread’s rise needs the right environment. Consider these factors:
| Factor | Ideal Condition | Impact on Bread |
|---|---|---|
| Temperature | 80-85°F | Promotes consistent yeast activity |
| Humidity | 75-80% | Prevents dough from drying out |
| Resting Time | 1-2 hours | Allows full volume development |
Troubleshooting Common Issues
If your bread doesn’t rise, don’t worry. Check your yeast and water temperature. Patience is crucial in bread rising. If the dough is slow, try these tips:
- Move dough to a warmer spot
- Allow extra rising time
- Verify yeast is still active
“Baking is a science, but bread making is an art.” – Unknown Baker
Cinnamon might slow yeast, but it won’t stop your bread from rising. Understanding these interactions will help you make delicious raisin bread every time.
Mastering the Swirl Technique
Making the perfect raisin bread swirl is an art. It turns a simple loaf into a stunning treat. The secret to a beautiful braided raisin bread is in the preparation and technique.
To start your cinnamon swirl bread adventure, roll out the dough into a rectangle. Aim for about 8 inches by 24 inches. This size is perfect for a beautiful swirl pattern.
“The magic of a perfect swirl is in the details and delicate handling of your dough.”
Here are the key steps for an amazing swirl:
- Brush the dough with warm milk
- Sprinkle cinnamon-sugar evenly
- Roll the dough tightly from the short side
- Pinch the seams to seal the filling
For a more detailed design, try braiding. Cut your dough into three strips. Fill each with butter and cinnamon-sugar. Then, braid the strips together. This method adds stunning layers to your raisin bread.
Here are some tips for success:
- Roll with light tension to avoid air pockets
- Use room temperature ingredients for the best results
- Brush the outside with milk for a golden finish
Practice is key to mastering the swirl technique. With patience and focus, you’ll make a cinnamon swirl bread that looks great and tastes amazing.
Dutch Oven vs Traditional Baking Methods
Choosing the right baking method can make a big difference. Dutch oven bread baking has unique benefits that traditional methods don’t. The Dutch oven’s closed environment creates steam, which is key for a great bread crust.
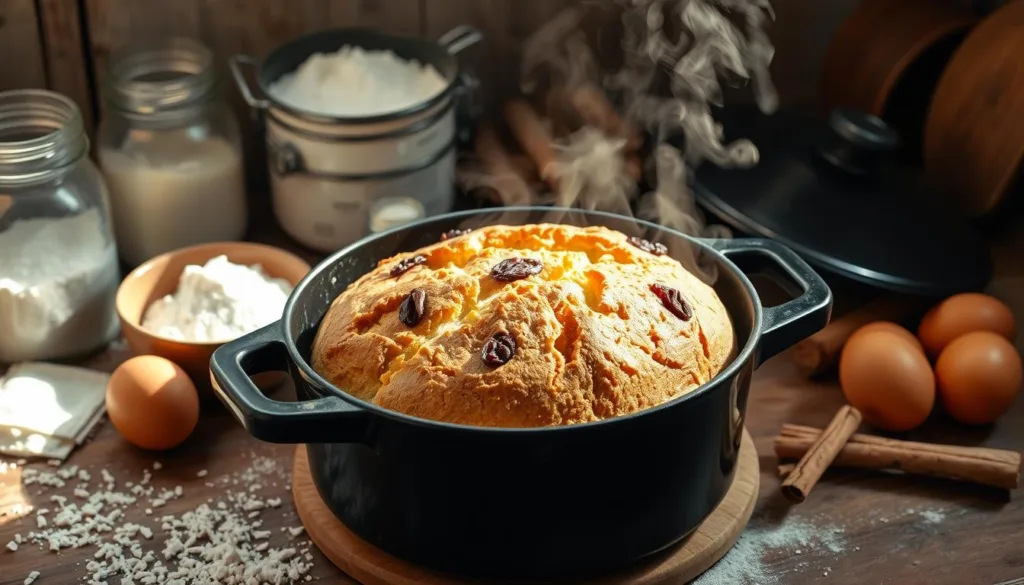
Temperature Guidelines for Perfect Raisin Bread
The temperature you use is crucial for a perfect crust. Traditional ovens usually bake at 375°F. But Dutch ovens do better at 450°F. Here’s why:
- Dutch oven preheating for 30 minutes before baking
- Trapping internal steam for crusty exterior
- Creating more consistent heat distribution
Baking Time Recommendations
How you handle your bread crust affects its texture and taste. For Dutch oven baking, follow these tips:
- Bake covered for 30 minutes at 450°F
- Uncover and bake for an extra 10-15 minutes
- Let the bread cool completely before slicing
“The Dutch oven is a baker’s secret weapon for creating restaurant-quality bread at home.” – Professional Baker
Pro tip: For extra moisture, add a few ice cubes to the Dutch oven before sealing. This adds more steam, making the crust crisper and more professional-looking.
Creative Variations and Flavor Combinations
Take your raisin bread to new heights by trying out exciting variations. Mixing different fruits and nuts can create amazing flavors. These combinations will make your taste buds dance with joy.
- Cranberry-Orange Sensation: Swap raisins for cranberries and add orange zest for a zesty twist
- Fig and Rosemary Fusion: Add chopped figs and fresh rosemary for a fancy taste
- Mixed Fruit and Nut Explosion: Mix dried fruits with nuts like walnuts, pecans, or almonds
Here are some tips for making flavored bread:
- Adjust sugar levels to match the sweetness of fruits
- Try different flours, like whole wheat
- Change liquid amounts with different flours
“Bread baking is an art of endless possibilities – don’t be afraid to get creative!” – Artisan Baker
Try these exciting flavor mixes for your next baking project:
| Flavor Combination | Key Ingredients | Unique Twist |
|---|---|---|
| Tropical Paradise | Dried pineapple, coconut flakes | Add toasted macadamia nuts |
| Apple Cinnamon | Dried apple chunks, extra cinnamon | Sprinkle with brown sugar before baking |
| Mediterranean Delight | Dried apricots, pistachios | Include a touch of cardamom |
Creating unique fruit and nut breads is all about finding the right balance and having fun. Don’t hesitate to try new things and find your own special bread recipe!
Are you looking to bake the perfect loaf of raisin bread at home? Our step-by-step guide makes it easy to achieve bakery-quality results in your own kitchen. From selecting the right ingredients to mastering the baking process, we’ve got you covered. For the full recipe and expert tips, be sure to check out our Raisin Bread recipe. Transform your baking skills and enjoy delicious, aromatic bread every time!
Conclusion
Making homemade raisin bread is a fun journey that turns your kitchen into a cozy, scented place. It’s not just about eating a tasty loaf. It’s about creating something special with your own hands. As you get better, your raisin bread will impress everyone you share it with.
Learning to bake bread is a skill that grows with practice. It’s all about being patient, using good ingredients, and trying new things. You can make your raisin bread your own, whether you like cinnamon or want to try something new.
Every loaf of bread has a story behind it. It’s about tradition, creativity, and your own cooking style. Choosing ingredients, mixing the dough, and watching it grow is just as fun as eating it. Your raisin bread is a way to connect with others who love to bake.
Start enjoying the art of bread making. Let your kitchen be a place of tasty discovery. With each loaf, you’ll get better, learn more, and make memories that will last forever.
FAQ
What equipment do I need to make raisin bread at home?
You’ll need a stand mixer with a dough hook, a 9″x5″ loaf pan, and optionally a Dutch oven. These tools help you mix, knead, and bake your raisin bread with professional-quality results.
How do I prepare raisins for my bread recipe?
Soak your raisins in boiling water for 10-15 minutes. This makes them plump and lightens their color. After draining, blot them dry on paper towels to prevent moisture loss in your dough. High-quality raisins like Sun-Maid work best for this technique.
Can I use different types of dried fruits instead of raisins?
Absolutely! You can substitute raisins with chopped dates, dried cherries, cranberries, or create a mix of dried fruits. Just ensure all dried fruits are properly rehydrated before adding to the dough.
What type of yeast should I use for raisin bread?
Use either instant yeast or active dry yeast. For enriched and sweeter doughs, SAF Gold Instant Yeast is recommended. Ensure your water temperature is 100-110°F for active dry yeast or 120-130°F for instant yeast.
How long does it take to make raisin bread from start to finish?
The total process takes about 4 hours and 15 minutes. This includes 30 minutes prep time, 3 hours rising time, and 45 minutes cooking time. You’ll get approximately 16 delicious slices of homemade raisin bread.
Why does cinnamon affect my bread’s rising process?
Cinnamon has antifungal properties that can slow down yeast activity. This results in longer rise times. However, the bread will still rise eventually, and the cinnamon adds wonderful flavor and potential preservation benefits.
Can I make raisin bread without kneading?
Yes! You can use a no-knead method by mixing ingredients thoroughly and allowing the dough to rise for 2 hours. This method even allows you to refrigerate the dough for up to 7 days, which can develop more complex flavors.
What baking method produces the best raisin bread?
A Dutch oven creates an excellent loaf with a tall, fluffy interior and perfectly brown, crusty exterior by trapping steam. Alternatively, traditional oven baking at 375°F works well. Always preheat your baking vessel and allow the bread to cool for at least an hour before slicing.
How can I create a perfect cinnamon swirl in my bread?
Roll the dough into a thin rectangle, brush with milk, sprinkle cinnamon-sugar mixture evenly. Roll from a short side with light tension, maintaining a tight spiral. Pinch seams closed and brush with milk for better adherence.
Are there flavor variations I can try with this recipe?
Experiment with combinations like cranberry-orange (add orange zest), fig-rosemary (use chopped figs), or mixed fruit and nut (combine different dried fruits with nuts like walnuts or almonds). Adjust sugar and spices to suit your taste preferences.
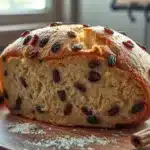
Homemade Cinnamon Raisin Bread
Ingredients
- 6 cups unbleached all-purpose flour
- 1 cup active sourdough starter
- 1/2 cup coconut oil
- 1 tablespoon salt
- 1/2 cup honey
Instructions
- Prepare your raisins by soaking them in boiling water for 10-15 minutes, then drain and pat dry.
- In a stand mixer, combine the flour, sourdough starter, coconut oil, salt, and honey, mixing until a dough forms.
- Knead the dough using a dough hook for about 10-12 minutes until smooth and elastic.
- Let the dough rise in a warm environment for 1-2 hours or until doubled in size.
- Roll out the dough into a rectangle and sprinkle with cinnamon-sugar mix before rolling tightly.
- Place the rolled dough into a greased loaf pan and allow it to rise for another hour.
- Preheat the oven to 375°F. Bake for 30-45 minutes until golden brown.
- Let the bread cool completely before slicing.

