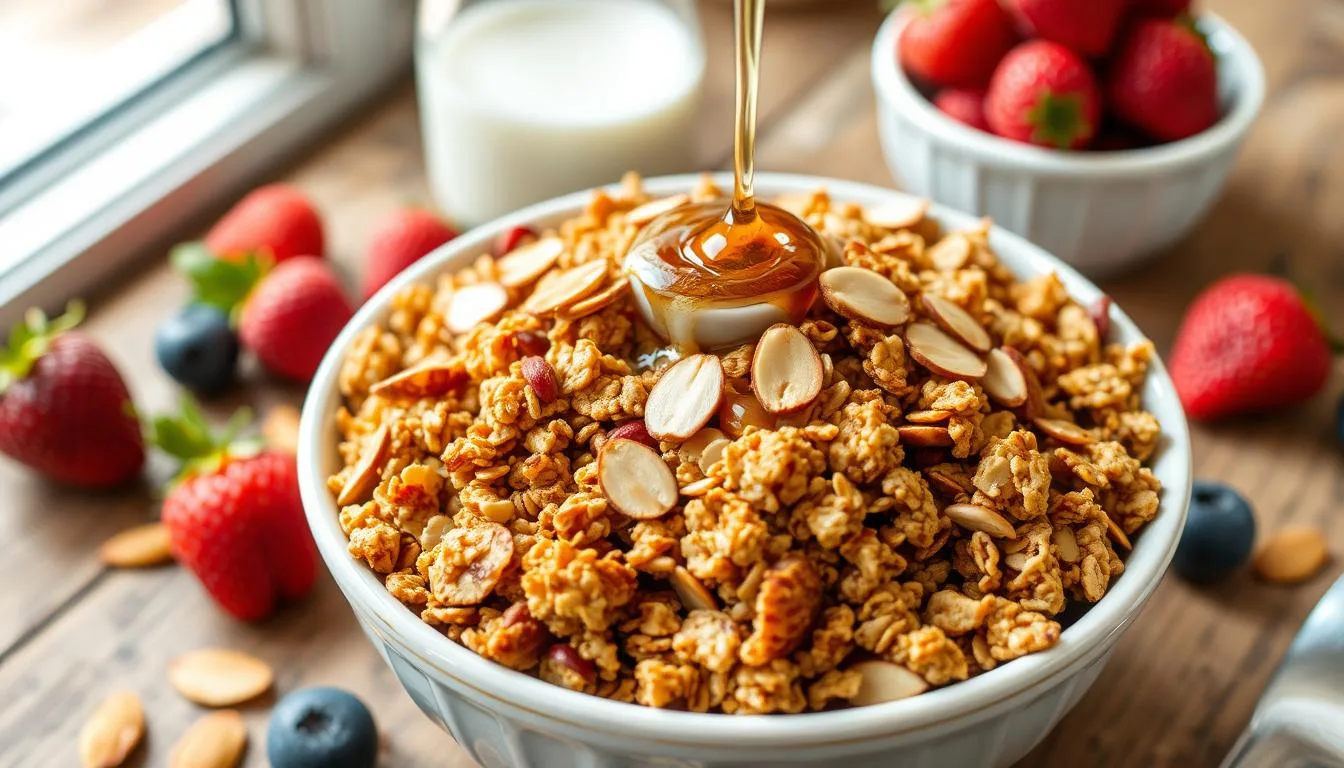
Imagine waking up to the warm, inviting aroma of freshly baked homemade granola. The sweet whispers of vanilla and toasted nuts make your morning special. This vanilla nut granola recipe is the start of your healthy breakfast journey.
Making crunchy granola clusters is more than just mixing ingredients. It’s about creating a nutritious masterpiece that feeds both body and soul. This recipe uses old-fashioned rolled oats, raw almonds, and pure maple syrup. It’s vegan, gluten-free, and full of flavor.
Whether you’re a busy professional or a health-conscious foodie, this vanilla nut granola will change your meal routine. It only takes 10 minutes to prepare and 45 minutes to bake. You’ll have a delicious, nutritious treat that lasts up to three weeks.
Why Homemade Vanilla Nut Granola Beats Store-Bought Every Time
Making your own granola is more than a fun project. It’s a smart move that makes your breakfast and snacks better. Homemade granola clearly wins when compared to store-bought.
Cost-Effective Benefits
Homemade granola saves you money. Buying ingredients in bulk like oats, nuts, and seeds is cheaper. A batch of vanilla nut granola makes 16 servings, offering great value.
Complete Control Over Ingredients
With homemade granola, you control what goes in. You can:
- Choose the best, organic ingredients
- Leave out bad preservatives
- Make it taste however you like
- Change its nutritional content
Superior Freshness and Flavor
Homemade granola tastes and feels better. Baking it for 21-24 minutes at 350°F makes it crispy and fragrant. It’s far better than store-bought.
“Homemade granola isn’t just food—it’s an expression of culinary creativity.”
| Characteristic | Homemade Granola | Store-Bought Granola |
|---|---|---|
| Cost per Serving | Lower | Higher |
| Ingredient Quality | Fully Controllable | Limited |
| Freshness | Maximum | Moderate |
| Customization | Unlimited | Minimal |
Choosing homemade granola means more than just a snack. It’s about making a healthy, tasty treat that’s just right for you.
Essential Ingredients for the Best Vanilla Nut Granola Recipe
Making the best vanilla nut granola starts with choosing top-notch ingredients. These ingredients add both nutrition and taste to your homemade snack. Rolled oats are key, offering a solid base and lots of nutrients.
To make the perfect granola, mix dry and wet ingredients carefully. Let’s look at the main parts that turn simple ingredients into a tasty breakfast or snack.
Dry Ingredients Breakdown
- Rolled oats (33% of dry ingredients)
- Sliced almonds (3.5 cups)
- Sunflower seeds (2 cups)
- Sesame seeds (1 cup)
- Wheat germ for added nutrients
- Ground cinnamon (2.5 teaspoons)
Wet Ingredients and Natural Sweeteners
- Coconut oil for healthy fat
- Pure maple syrup
- Honey (0.5 cup)
- Vanilla extract (3 teaspoons)
- Molasses (1 cup)
Using natural sweeteners like honey and maple syrup is key. They add sweetness and flavor that store-bought granola can’t match.
Nuts and Flavor Enhancers
Choose nuts like almonds, pecans, and walnuts for your granola. Each nut adds a special texture and nutrition. Pro tip: Lightly toasting nuts before mixing can intensify their flavor and crunch.
“The secret to great granola is balancing flavors and textures.” – Culinary Experts
| Ingredient | Quantity | Nutritional Benefit |
|---|---|---|
| Rolled Oats | 4 cups | High in fiber, supports digestive health |
| Almonds | 3.5 cups | Protein, healthy fats, vitamin E |
| Coconut Oil | 1/2 cup | Medium-chain triglycerides, energy booster |
Homemade granola is all about trying new things. Experiment with different nuts, seeds, and sweeteners to make your own unique blend.
Kitchen Tools and Equipment Needed for Vanilla Nut Granola
Making tasty homemade granola needs the right tools and equipment. Whether you’re an experienced baker or new to granola, the right tools make cooking fun and easy.
Essential Basic Equipment List
To start with your vanilla nut granola, you’ll need these basic items:
- Large mixing bowl
- Half sheet pan or baking sheet
- Parchment paper or silicone baking mat
- Measuring cups and spoons
- Spatula or wooden spoon
Optional Tools for Enhanced Convenience
These extra tools can make making granola easier:
- Silicone spatula for easy mixing
- Digital kitchen scale for precise measurements
- Cooling rack for even cooling
- Kitchen timer
Storage Containers for Fresh Granola
Keeping your granola fresh is key. Use these containers to store your homemade granola:
- Airtight glass mason jars
- Ceramic storage containers with tight-fitting lids
- Vacuum-sealed containers
“The right tools transform cooking from a chore to a delightful experience.”
You don’t need fancy tools to make great homemade granola. Simple, reliable tools can help you make a batch that will wow your family and friends.
The Science Behind Perfectly Clustered Vanilla Nut Granola
Making the perfect crunchy granola is more than just mixing ingredients. It’s about using the right techniques to turn simple ingredients into a tasty texture. Finding the right balance is key to making amazing granola every time.
The secret to perfect granola clusters is in the ingredient ratio and baking method. A key formula is:
- 6 parts dry ingredients to 1 part wet ingredients
- Mixing at least 4 different dry components
- Using old-fashioned rolled oats for the best texture
“Granola texture is an art and a science – precision matters!”
The crunch of your granola comes from science. Oil and natural sweeteners create a sticky mix that turns loose ingredients into tasty clusters. When heated, these ingredients caramelize and connect, forming clusters.
| Ingredient Category | Recommended Ratio |
|---|---|
| Oats | 3 parts |
| Nuts | 1 part |
| Seeds | 1 part |
| Additional Ingredients | 1 part |
Baking temperature is crucial for granola clusters. Baking at 300°F for about 45 minutes is recommended. Pro tip: Press down the mixture halfway through baking to encourage cluster formation.
Cooling is also key. Let your granola cool completely without stirring. This helps the clusters set, keeping them crunchy and perfect for snacking.
Step-by-Step Guide to Making Vanilla Nut Granola Recipe
Making homemade granola is simpler than you think. This vanilla nut granola recipe turns your kitchen into a cozy bakery. It fills your home with warm, inviting smells. Follow these easy steps to become a granola baking pro.
Gathering Your Ingredients
Before starting, make sure you have all your ingredients ready. Here’s what you’ll need:
- 3 cups old-fashioned rolled oats
- 1 cup raw nuts (almonds, pecans, or walnuts)
- ½ cup unsweetened shredded coconut
- 2 tablespoons chia seeds
- ½ teaspoon salt
- 1 teaspoon ground cinnamon
Mixing Dry Ingredients
Start by mixing the ingredients well. In a big bowl, mix the oats, nuts, coconut, chia seeds, salt, and cinnamon. Stir until everything is evenly spread.
Preparing Wet Ingredients
For the right mix, whisk together:
- ⅓ cup melted coconut oil
- ⅓ cup maple syrup
- 1 tablespoon pure vanilla extract
Baking Granola to Perfection
Heat your oven to 325°F (163°C). Mix wet ingredients with dry ones until everything is coated. Spread the mix on a lined baking sheet.
| Baking Stage | Duration | Temperature |
|---|---|---|
| Initial Baking | 20-25 minutes | 325°F |
| Cooling | 1 hour | Room Temperature |
Bake for 20-25 minutes, stirring halfway for even browning. Let it cool completely for the best crunch. Your homemade granola lasts up to two weeks in an airtight container.
“Baking granola is an art that combines simplicity with delicious results!” – Home Cooking Enthusiast
Tips for Achieving the Perfect Crunch in Your Vanilla Nut Granola
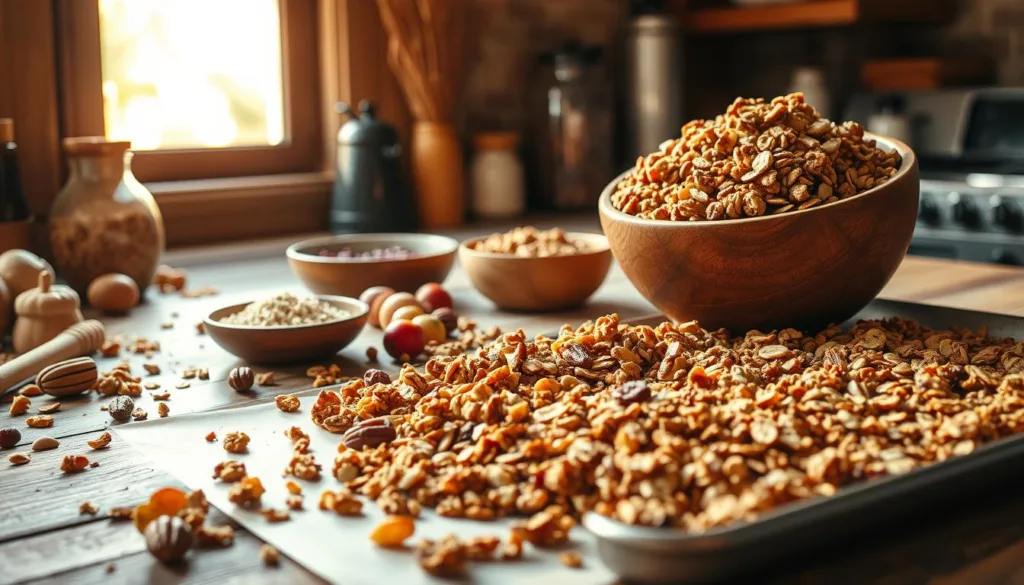
Making the ultimate crunchy granola is more than just mixing ingredients. Your baking skills are key to getting that perfect texture everyone loves.
To get crunchy granola, start by preparing and baking carefully. Spread oats and nuts on a parchment-lined baking sheet. Make sure they’re a bit crowded but not too tight. This helps the heat spread evenly and makes them crisp.
“A perfectly crunchy granola is a delicate balance of ingredients and technique” – Baking Experts
- Use parchment paper to prevent sticking and ensure even browning
- Gently press down the granola mixture halfway through baking to promote clustering
- Watch carefully to avoid over-baking – remove when lightly golden
- Let granola cool completely before breaking into clusters
Storing your granola right is crucial to keep it crunchy. Store it in an airtight container at room temperature. For longer freshness, add a silica gel packet to soak up moisture.
| Baking Tips | Crunch Impact |
|---|---|
| Spread ingredients evenly | Ensures consistent texture |
| Bake at 350°F | Promotes golden, crispy result |
| Cool completely before storing | Prevents moisture buildup |
Follow these baking tips to make your homemade granola crunchy and delicious. It will be better than any store-bought version.
Nutritional Benefits and Health Advantages of Vanilla Nut Granola
Making healthy granola at home is not only tasty—it’s also great for your health. Each bite is packed with nutrients that help keep you well.
Your homemade granola is full of nutrients that store-bought options often miss. The ingredients are chosen for their health benefits. They make your granola a food that supports your body’s needs.
Protein and Fiber: Nutritional Powerhouses
Healthy granola is rich in protein and fiber. These help you stay full and give you energy. A serving size has:
- 5-7 grams of protein per 1/4 cup
- 3-4 grams of dietary fiber
- Complex carbohydrates for sustained energy
Healthy Fats from Nuts
Nuts in your granola are packed with healthy fats. These fats are good for your heart. They add:
- Omega-3 fatty acids
- Vitamin E
- Magnesium and zinc
Natural Energy Boost
Unlike processed snacks, homemade granola gives you a natural energy boost. It has protein, fiber, and healthy fats. These help keep your blood sugar stable and give you energy all day.
“Nutrition is not about being perfect. It’s about eating food that makes you feel great.” – Unknown
| Nutrient | Amount per 1/4 Cup | Health Benefit |
|---|---|---|
| Protein | 5-7g | Muscle repair and growth |
| Fiber | 3-4g | Digestive health |
| Healthy Fats | 8-10g | Heart health support |
By making your own granola, you’re choosing a nutritious and tasty food. It’s a great way to support your health and wellness.
Creative Ways to Customize Your Vanilla Nut Granola Recipe
Turn your basic vanilla nut granola into a unique treat. You can try many different flavors and ingredients. This way, every batch is special and meets your dietary needs.
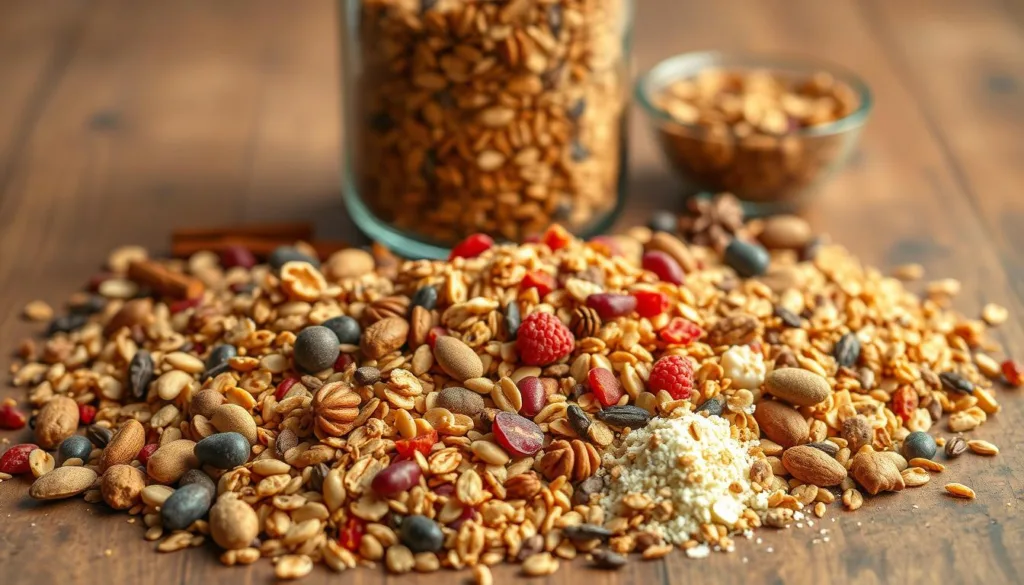
- Nut Alternatives
- Try using walnuts, cashews, or pistachios instead of almonds
- Combine different nuts for a richer taste
- Dried Fruit Enhancements
- Introduce cranberries, raisins, or chopped apricots
- Try goji berries or golden raisins for something new
- Seed Boosters
- Add sunflower seeds
- Use pumpkin seeds for extra crunch
- Chia or flax seeds are great for extra nutrition
Make your granola exciting with unique flavor mixes:
| Flavor Profile | Key Ingredients |
|---|---|
| Tropical Twist | Coconut flakes, macadamia nuts, dried pineapple |
| Autumn Warmth | Pumpkin pie spice, pecans, dried apple chunks |
| Citrus Burst | Orange zest, sliced almonds, candied ginger |
“Granola is like a culinary canvas – your imagination is the only limit!” – Artisan Baker
If you follow special diets, you can easily change the recipe. Make it gluten-free, vegan, or low-sugar to fit your needs.
The secret to great customized granola is finding the right balance. Begin with small changes and taste as you go. Let your taste buds lead your way.
Storage Tips and Shelf Life for Vanilla Nut Granola
Keeping granola fresh is key to its taste and texture. Your homemade vanilla nut granola can stay tasty with the right storage. This helps it last longer.
For storing granola, pick an airtight container to keep it dry and fresh. Storing it at room temperature is best for up to two weeks. It keeps your granola crunchy and flavorful.
“The secret to great granola is not just in making it, but in storing it right!” – Culinary Experts
Storage Options
- Room Temperature Storage: Up to 2 weeks
- Refrigerator Storage: Up to 1 month
- Freezer Storage: Up to 3 months
Pro Storage Tips
- Cool granola completely before storing
- Use glass or ceramic containers with tight-fitting lids
- Add a silica gel packet to absorb excess moisture
- Avoid storing near heat sources
Freezing granola makes it last much longer. Place it in a sealed freezer bag, squeezing out air. Let it thaw at room temperature for 5-10 minutes to regain its crunch.
Shelf Life Comparison
| Storage Method | Duration | Quality Preservation |
|---|---|---|
| Pantry (Airtight Container) | 2 weeks | Excellent |
| Refrigerator | 1 month | Very Good |
| Freezer | 3 months | Good |
Pro Tip: Always check for any signs of moisture or staleness before consuming stored granola. Trust your senses!
Serving Suggestions and Pairings for Vanilla Nut Granola
Your homemade vanilla nut granola opens up a world of culinary creativity. It can be enjoyed from breakfast to dessert. The versatility of granola recipes lets you explore many exciting combinations and pairings.
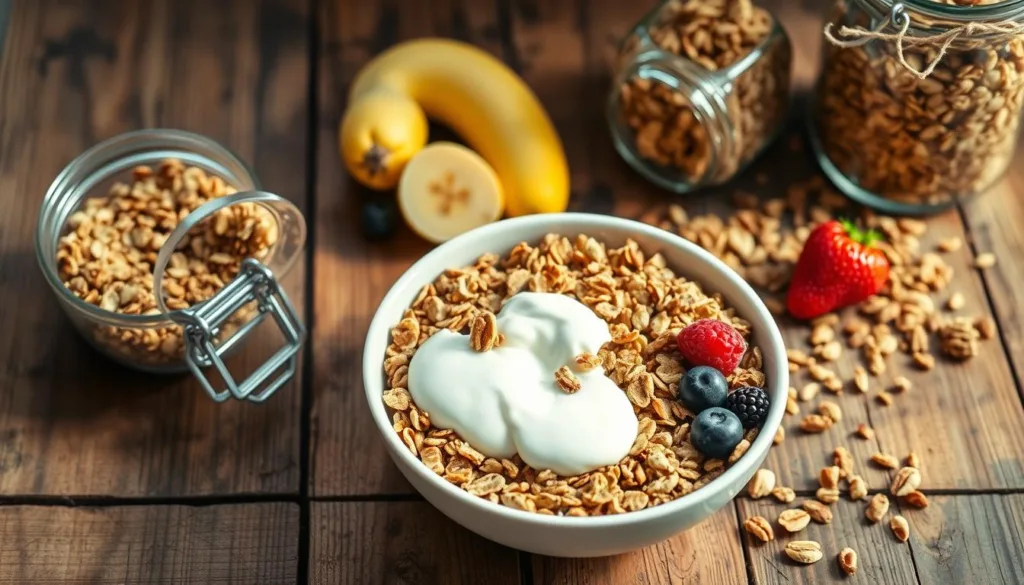
Breakfast Delights
Start your morning with these delicious granola pairings:
- Classic Greek yogurt parfait with fresh berries
- Smoothie bowl topping for added crunch
- Mixed with warm milk for a comforting breakfast
- Sprinkled over overnight oats
Snack Time Innovations
Transform your midday snacking with these creative ideas:
- Trail mix with dried fruits and nuts
- Energy-boosting granola bars
- Standalone crunchy snack in portable containers
- Granola-stuffed dates for a quick bite
Dessert Applications
Elevate your desserts with these granola recipes:
| Dessert | Granola Pairing |
|---|---|
| Vanilla Ice Cream | Sprinkle as a crunchy topping |
| Baked Fruits | Use as a crisp layer |
| Whipped Coconut Cream | Add for texture and flavor |
| Fruit Crisps | Incorporate as a main ingredient |
With these granola serving ideas, you’ll never run out of delicious ways to enjoy your homemade treat. Experiment and discover your favorite combinations!
Common Mistakes to Avoid When Making Vanilla Nut Granola Recipe
Making perfect homemade granola needs skill and care. Learning the right granola baking tips can help you steer clear of common mistakes. These mistakes can ruin your tasty homemade granola.
When you’re fixing your granola, watch these key areas:
- Baking Sheet Spacing: Don’t overcrowd your baking sheet. Spread out the ingredients to toast evenly and avoid soggy spots.
- Oven Temperature: Keep an eye on the heat. Too hot can burn the nuts and oats, while too cold won’t get them crunchy.
- Stirring Technique: Stir just a little. Too much stirring can break up the clusters, losing that crunchy texture you want.
“The secret to perfect granola is patience and precision.” – Artisan Baker
Choosing the right ingredients is key to making great granola. Use old-fashioned rolled oats instead of quick oats, which can get mushy. Make sure all dry ingredients are well coated with wet mixtures like maple syrup or oil for the best flavor.
One big mistake is taking the granola out of the oven too soon or too late. Let it cool completely on the baking sheet for that perfect crunch. Storing it too soon can make it soft and soggy.
- Use parchment paper for easy removal
- Let granola cool for at least 30 minutes
- Store in airtight containers at room temperature
By knowing these tips, you can turn your homemade granola into something truly special.
Conclusion: Mastering the Perfect Vanilla Nut Granola Recipe
Making your own granola is good for your health and boosts your cooking skills. This recipe lets you make a healthy snack that’s better than store-bought ones. You can turn simple ingredients into a tasty, crunchy treat.
This Vanilla Nut Granola Recipe is very flexible. You can change it up by adding different nuts, seeds, and dried fruits. You can also adjust how sweet it is. It’s a great snack that’s full of nutrition and flavor, perfect for any time of day.
Keep your homemade granola in an airtight container to keep it fresh for up to two weeks. Each batch is a personal achievement, showing off your taste and health goals. With time, you’ll get better at making delicious granola that you’ll always want to have around.
The best part of making homemade granola is the fun of creating something tasty from scratch. Your kitchen becomes a place for fun and healthy cooking experiments.
FAQ
Is this granola recipe gluten-free?
Yes, the granola can be gluten-free if you use certified gluten-free oats. The recipe is naturally gluten-free. It can be adapted for different diets.
How long will homemade granola stay fresh?
Homemade vanilla almond granola stays fresh for up to 3 weeks in an airtight container. For longer storage, freeze it for up to 3 months.
Can I modify the recipe with different nuts or mix-ins?
Absolutely! Swap almonds for walnuts, cashews, or pistachios. Add dried fruits like cranberries or raisins. Include seeds like sunflower or pumpkin seeds too.
What equipment do I need to make this granola?
You’ll need a large mixing bowl, baking sheet, and parchment paper or silicone mat. A spatula or wooden spoon and measuring cups and spoons are also needed. A half sheet pan is best for baking.
Is homemade granola healthier than store-bought?
Yes, homemade granola is healthier. You control the ingredients. Use natural sweeteners, whole grain oats, and unrefined oils. Avoid additives found in commercial brands.
How can I ensure my granola forms crunchy clusters?
Use the right amount of liquid ingredients. Press the granola down halfway through baking. Let it cool completely before breaking it up. Avoid stirring too much during baking.
What are some ways to serve homemade granola?
Enjoy your granola with Greek yogurt, milk, or as a topping for smoothie bowls. Sprinkle it over ice cream or mix into salads. It’s very versatile!
Can I make this recipe vegan?
Yes, the recipe is vegan-friendly with maple syrup and coconut oil. Use certified vegan ingredients and gluten-free oats if needed.
How do I prevent my granola from becoming soggy?
Keep the granola cool before storing. Use an airtight container. Add a silica gel packet to absorb moisture. Avoid humid environments.
What nutritional benefits does this granola offer?
The granola has fiber from oats, healthy fats and protein from nuts, and complex carbohydrates for energy. It supports digestion, provides sustained energy, and offers vitamins and minerals.
Table of contents
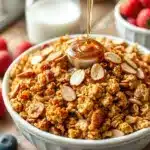
Homemade Vanilla Nut Granola
Ingredients
- 4 cups old-fashioned rolled oats
- 3.5 cups sliced almonds
- 2 cups sunflower seeds
- 1 cup sesame seeds
- 2.5 teaspoons ground cinnamon
- ½ cup coconut oil melted
- ⅓ cup pure maple syrup
- 1 cup honey
- 3 teaspoons vanilla extract
- 1 cup molasses
Instructions
- Preheat your oven to 325°F (163°C).
- In a large mixing bowl, combine rolled oats, sliced almonds, sunflower seeds, sesame seeds, and ground cinnamon.
- In another bowl, whisk together melted coconut oil, maple syrup, honey, and vanilla extract.
- Pour the wet ingredients over the dry ingredients and mix until well combined.
- Spread the mixture evenly on a lined baking sheet.
- Bake for 20-25 minutes, stirring halfway through for even browning.
- Let the granola cool completely before breaking into clusters.

